How to Lay Subfloor in Bathroom: A Tile Guy's Honest Guide
I've seen more bad subfloors than I've had hot dinners. And I'm from Philly, so that's a lot of hoagies. A wobbly subfloor under new tile is like building a house on a cracked foundation — it's only a matter of time before grout cracks, tiles pop, and you're cursing my name. So let me walk you through how to lay subfloor in bathroom the right way. No fluff, just what I've learned from 400+ bathrooms.
Why the Subfloor Matters More Than You Think
Your bathroom floor takes a beating — water spills, temperature swings, and the full weight of a cast-iron tub. If the subfloor isn't solid and flat, your tile will fail. Period. I've ripped out $10,000 tile jobs because some guy slapped cement board over a bouncy plywood deck thinking it would fix the problem. It won't. The subfloor is the single most important layer in a tile installation. Get this right, and you'll never think about it again. That's the point.
What You'll Need (Materials and Tools)
Here's what I actually use. Not the Pinterest list.
- Plywood: Minimum 3/4-inch exterior-grade (CDX or better). No OSB — it swells when wet. I prefer ACX plywood from a real lumberyard, not the big-box special. Budget $40–$60 per 4x8 sheet.
- Cement board or uncoupling membrane: HardieBacker (about $15 per sheet) or Schluter Ditra (about $2.50 per sq ft). I've had fewer callbacks with Ditra, but HardieBacker works fine if you install it right.
- Thinset and screws: Modified thinset for the membrane (I use Custom Building Products VersaBond — $25 a bag). Screws need to be corrosion-resistant, like HardieBacker screws or GRK fasteners.
- Tools: Circular saw, drill, tape measure, chalk line, trowel (1/4x1/4 square notch for Ditra), a 6-foot level, and knee pads (you'll thank me).
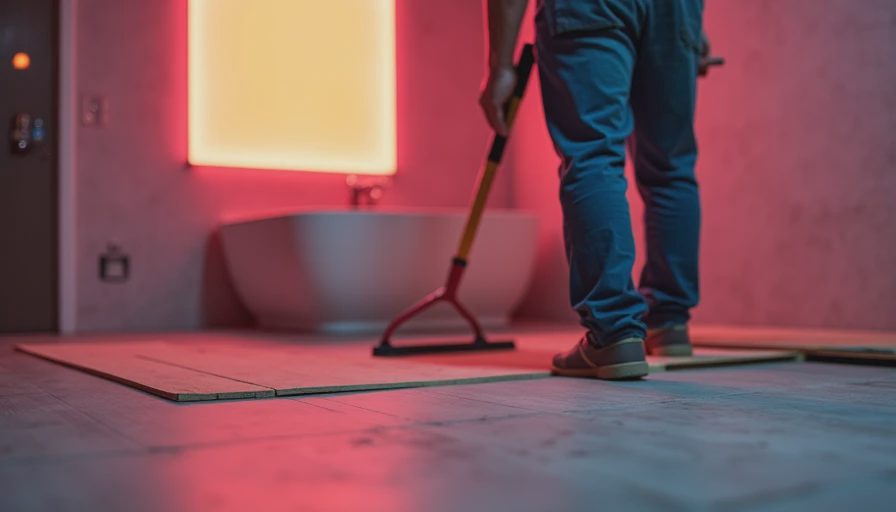
Step-by-Step: How to Lay Subfloor in Bathroom
I'm going to assume you've already pulled up the old floor and are down to the joists. If not, start there. Here's the process I use on every job.
1. Check the Joists and Fix Any Issues
Your joists need to handle the load. For tile, you want a deflection rating of L/360 or better. That's fancy engineer talk for "not saggy." If your joists are 16 inches on center and in good shape, you're fine. If they're 24 inches apart or have questionable notches, you'll need to sister in extra joists or add blocking. Don't skip this step — I've seen a floor deflect so much the tile cracked in a month.
2. Install the Plywood Underlayment
Lay your plywood perpendicular to the joists. Leave a 1/8-inch gap at the walls and between sheets for expansion. Use a chalk line to mark screw locations every 6 inches along the edges and 8 inches in the field. Use deck screws (1-5/8 inch or longer), and countersink them just below the surface. Nobody wants a screw head poking through their Ditra.
3. Add Your Underlayment (Cement Board or Membrane)
If you're using cement board, cut it with a score-and-snap knife or a circular saw with a masonry blade. Mix your thinset a bit looser than you would for tile — you want a good bond but not so wet it squishes everywhere. Spread the thinset with a 1/4-inch square trowel, then embed the cement board or Ditra. For cement board, screw every 6 inches along edges and 8 inches in the field. For Ditra, you don't need screws — the thinset holds it. Let it cure 24 hours before tiling.
4. Tape and Mud the Seams (Cement Board Only)
If you went with HardieBacker, use alkali-resistant fiberglass tape and a thin layer of thinset over the seams. Let it dry. Ditra requires no taping — the seams are self-overlapping.
Common Mistakes That Will Ruin Your Subfloor
I've made some of these myself, so you don't have to.
- Skipping the thinset under cement board. You can't just screw cement board to plywood and hope for the best. The thinset fills tiny gaps and prevents movement. I've seen guys do it without, and the result is a loose floor that sounds hollow underfoot.
- Using the wrong plywood grade. OSB swells. Particle board crumbles. Use exterior-grade plywood or better. I've seen a homeowner use cheap pine plywood from a garage sale — it warped in a week.
- Forgetting to level the subfloor. If your subfloor has dips more than 1/8 inch over 6 feet, you need self-leveling underlayment (like Henry 547). Pour it, spread it, wait. Don't try to build up your thinset when setting tile — that's a hack move.
- Not letting thinset cure. Thinset needs 24 hours to cure before tiling. Rush it, and you'll have bonding issues. Use that time to go have a beer.

How to Tell If Your Subfloor Is Ready for Tile
Here's a test I do on every job: put a 6-foot level on the floor and rock it back and forth. If it doesn't sit flat — if there's a gap under the level — that floor needs work. Also, walk across the floor. You shouldn't feel any bounce. If you do, your joists or plywood need reinforcement. A solid floor is quiet and doesn't flex.
My Bottom Line on How to Lay Subfloor in Bathroom
Decent plywood, proper fastening, and a membrane or cement bed — that's the formula. I've used this exact method on hundreds of bathrooms. It works. You can spend more on fancy engineered panels or waterproofing systems, but the basics never change: flat, solid, and well-bonded. That's what separates a floor you'll forget about from one you'll curse every time you step on it.
If you're not confident in your framing skills, call a contractor for that part. But the rest — the plywood, the underlayment, the tiling — you can do, as long as you don't cut corners. A bathroom built right once is a bathroom you forget about. That's the point.

No notes yet — be the first to inscribe one.