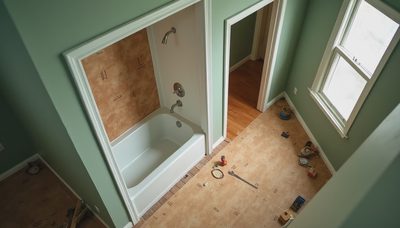
If you're renovating a bathroom in a house built before the 1980s, odds are you're dealing with an old plank subfloor — those 1x6 or 1x8 boards nailed diagonally across the joists. They're solid, but they move. And tile hates movement. I've torn out more cracked tile jobs than I can count because someone thought slapping cement board over those old planks was good enough. It's not. Here's how to get that old plank subfloor ready for tile so you don't have to redo it in two years.
Why Old Plank Subfloors Are a Problem
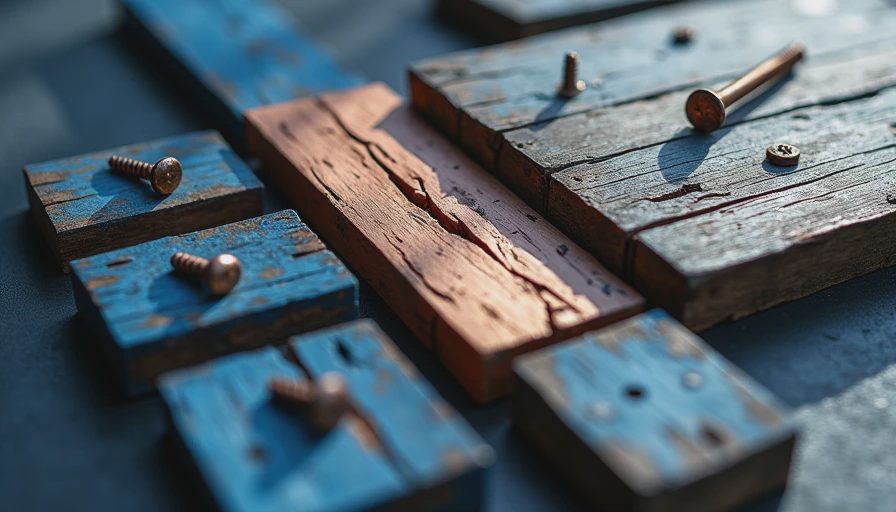
Plank subfloors were never designed for tile. They're dimensionally unstable — the wood expands and contracts with humidity, and the individual boards can flex independently under a point load like a toilet or vanity. Even if the planks feel solid when you walk on them, they'll telegraph movement right through the thinset. That's why you see hairline cracks along grout lines or tiles that sound hollow after a few seasons. I once ripped out a shower floor in a 1920s row house in Fishtown where the homeowner had tiled directly onto the old plank subfloor with just a layer of roofing felt. Every tile was either cracked or loose. Don't be that guy.

The Right Way to Stiffen the Floor
Step one: Sister the joists if you can. If you have access from below, screw 2x8 or 2x10 lumber alongside the existing joists to reduce deflection. For a bathroom floor, you want L/360 or better — that's engineering speak for less than 1/360th of the span length in deflection. If you can't get underneath, at least add blocking between joists. Then comes the subfloor prep. The old plank subfloor needs to be covered with a layer of minimum 1/2-inch exterior-grade plywood (I prefer 5/8-inch). Don't use OSB — it's not dimensionally stable enough for tile. Screw the plywood into the planks and joists with deck screws every 6 inches along the edges and 8 inches in the field. Leave a 1/8-inch gap between sheets for expansion.
Plywood Overlay vs. Cement Board
Some guys swear by cement board over the plywood. I've used HardieBacker for years, and it works. But if you want the thinnest, strongest assembly, use a decoupling membrane like Schluter Ditra. It's a plastic sheet with a fleece bottom that uncouples the tile from the subfloor. With Ditra, you go over the plywood directly, and it saves you the weight and thickness of cement board. For a bathroom floor, that matters when you're matching heights to an adjacent room. I've installed Ditra over dozens of old plank subfloor jobs and never had a callback. Cost? Ditra runs about $1.80 per square foot at supply houses. Cement board is cheaper—around $0.50 per square foot—but you'll need to tape and thinset the seams, and it's heavier.
Subfloor Prep Checklist
Here's my sequence, step by step. Miss one and you're gambling.
- Remove old flooring down to the planks.
- Pull any protruding nails and screw down loose boards. Use 3-inch deck screws to secure the planks to the joists.
- Install plywood overlay (1/2-inch minimum, 5/8-inch better). Stagger seams so they don't line up with plank gaps.
- Vacuum everything clean. No dust between layers.
- Install your underlayment: either 1/4-inch cement board (thinset under and 1 1/4-inch screws) or Schluter Ditra (thinset under with a 1/4 x 1/4-inch square-notch trowel).
- Tape and mud cement board seams. For Ditra, just press the seams together.
- Let the thinset cure at least 24 hours before tiling.
Follow that, and your tile job will outlast the house.
Cost Breakdown
For a typical 40-square-foot bathroom floor, here's what you're looking at:
- Plywood (5/8-inch, 2 sheets): $80
- Deck screws (1 lb): $8
- Cement board (4 sheets): $40
- Thinset (2 bags): $30
- Screws for cement board: $12
- Total for cement board route: around $170
If you go with Ditra: one roll (54 sq ft) at $100, plus a bag of modified thinset ($20). Total: $120. Actually cheaper than cement board when you factor in the time saved. Plus, Ditra adds less than 1/4 inch to the floor height.
When to Call a Pro
If the old plank subfloor is rotted at the ends near the walls, or if the joists are undersized (like 2x6 on 24-inch centers), you need structural repairs. Water damage from old leaks is common. I once pulled up a plank subfloor in a Germantown rowhouse and found the joist ends completely gone from a slow toilet leak. That's not a DIY fix. If you're unsure, poke the planks around the toilet flange and tub drain with a screwdriver. If it sinks in like butter, call a carpenter.
Bottom Line
An old plank subfloor can be a perfectly good base for tile if you treat it right. The key is adding a layer of plywood and a decoupling membrane or cement board. Don't skip steps, don't cut corners, and don't listen to the guy at the big box who says you can tile right over the planks. He's not the one who'll be fixing it when it cracks. A bathroom built right once is a bathroom you forget about. That's the point.

No notes yet — be the first to inscribe one.