When you’re replacing a toilet or roughing in a new bathroom, one of the most critical measurements is the toilet flange rough in dimensions. Get this wrong, and you’re looking at a toilet that doesn’t sit flush against the wall, leaks, or needs a costly offset flange. I’ve seen homeowners in Philly tear out brand-new tile because they assumed their rough in was standard 12 inches when it was actually 10. Don’t let that be you.
What Are Toilet Flange Rough In Dimensions?
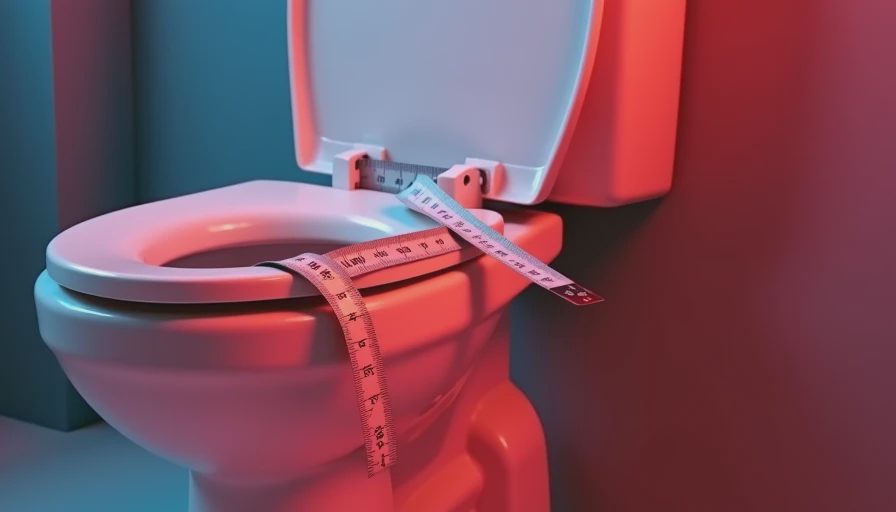
Toilet flange rough in dimensions refer to the distance from the finished wall (not the baseboard or trim) to the center of the toilet flange opening. This measurement determines which toilet model will fit your bathroom. It’s usually measured in whole inches, most commonly 10, 12, or 14. The flange itself is the plastic or metal ring that connects the toilet to the waste pipe and holds the toilet in place with bolts. If the rough in is off, even by half an inch, you’ll have trouble aligning the toilet bowl with the wall. That gap behind the tank is not just ugly—it can also cause rocking and seal failure.
Standard Rough In Dimensions for Toilets
In over 400 bathrooms I’ve worked on, here’s what I see most often:
- 10 inches: Common in older homes, especially those built before 1960. These toilets are smaller and often used in tight spaces like powder rooms or half baths. Brands like Toto and American Standard still make 10-inch rough models, but the selection is thinner.
- 12 inches: The standard in virtually every home built after 1980. If you have a new-construction home or a major remodel from the last 40 years, this is almost certainly your measurement. You’ll find the widest variety of toilets for 12-inch rough ins.
- 14 inches: Less common, but you’ll see it in some high-end homes or larger master baths where you want extra legroom. Kohler and Toto both offer 14-inch rough models. Just be careful—many standard toilets won’t fit a 14-inch rough in without a gap.
It’s worth noting that some European-style toilets use metric rough ins, but I’m sticking with US standards here because that’s what 99% of my readers deal with.
Why Getting the Rough In Right Matters
If your toilet flange rough in dimensions are off, you’re asking for trouble. A toilet that’s too far from the wall leaves an awkward gap behind the tank that collects dust and looks unfinished. Too close, and the tank may physically press against the wall, causing cracking or preventing the toilet from seating properly. More importantly, the wax ring (or foam seal) relies on the flange being centered and at the correct height. A poorly aligned flange leads to leaks, which rot subfloors and joists. I’ve pulled up tile that was laid just six months earlier because the flange was wrong and the leak went undetected.
Another thing: if you’re laying new tile or adding wallboard, the finished wall thickness changes. That old 12-inch rough in becomes 11.5 inches if you don’t account for new tile and thinset. Always measure after the wall finish is complete, not before.
How to Measure Your Toilet Flange Rough In Dimensions
Here’s the step-by-step I use on every job:
- Remove the toilet. If you’re planning a replacement, this is the first thing. Put down towels, disconnect the water line, and unbolt the toilet. Lift it straight up and set it aside.
- Clean the old wax ring off the flange. You want a clear view of the center of the flange opening.
- Find the finished wall. This is the surface of the drywall or tile—not the baseboard. Measure from the wall to the center of the flange bolts (the two parallel slots on the flange). That distance is your rough in.
- Check both sides. Sometimes the flange isn’t perfectly centered. Measure from both left and right corners to ensure the flange is square to the wall.
- Write it down. Don’t trust your memory. I use a piece of painter’s tape stuck to the wall.
If you can’t remove the toilet (maybe it’s still in use), you can get a rough estimate by measuring from the wall to the top of the toilet bowl’s mounting bolts. But that’s approximate—I always recommend pulling the toilet.
Common Mistakes and How to Avoid Them
Let me save you from the biggest screw-ups I’ve seen:
- Measuring to the baseboard instead of the wall: Baseboards add 1 to 2 inches. If you measure to the baseboard and assume it’s the finished wall, your rough in will be off by that much. Always measure to the drywall or tile.
- Assuming it’s 12 inches: Yes, 12 is standard, but it’s not universal. I’ve walked into homes built in the 90s with 10-inch rough ins. Always measure.
- Forgetting tile thickness: If you’re retiling, the new tile and backer board can add ½ to ¾ inch to the wall. Your rough in will effectively shrink. Plan for it.
- Using an offset flange as a fix-all: Offset flanges can adjust the rough in by an inch or so, but they’re not a perfect solution. They reduce the bore opening and can cause clogs. Use them only as a last resort.
- Not checking flange height: The top of the flange should be about ¼ inch above the finished floor. Too high and the toilet rocks; too low and the seal leaks. Check this while you’re measuring.
Final Thoughts
The toilet flange rough in dimensions aren’t complicated, but skipping the measurement is a gamble. Take five minutes with a tape measure before you buy anything. A bathroom built right once is a bathroom you forget about. That’s the point.

No notes yet — be the first to inscribe one.