If you're sealing a shower, tub, or backsplash, silicone sealant for wet areas is the one product I trust when the joint actually sees water. In older homes, the joint between tile and tub is usually where bad caulk, sloppy prep, and cheap shortcuts start to show up first. Grout cracks. Vinyl trim shrinks. Someone smears on the wrong tube from the hardware aisle and wonders why it peels in six months. I’ve torn out enough failed bathrooms in South Philly to know the fix is usually not fancy; it’s using the right material in the right place and giving it a clean surface to grab.
The big thing to understand is that silicone is not the same as the cheap paintable caulk people grab for trim. True silicone stays flexible, shrugs off standing water, and keeps its grip on glazed tile, porcelain, glass, and many acrylic tub surrounds. That flexibility matters because tubs move a little when someone climbs in and out, and walls move a little over time. If the sealant can’t handle that movement, you get hairline gaps, black mildew, and a weekend you didn’t plan on.
What it does better than the cheap stuff
When a homeowner asks me what makes silicone different, I tell them this: the cheap stuff is trying to be useful in a dozen places, while silicone is built for the spots that stay wet. A good bead at a tub-to-tile joint or shower corner is there to stop water from getting behind the finish and into the backer board, framing, or drywall. That is why silicone sealant for wet areas is worth the extra few dollars. You are not buying glamour. You are buying time, movement, and water resistance.
The other thing silicone does well is resist mildew better than the bargain-bin acrylic caulks. Nothing is magic in a shower, and if the bathroom has no fan and the family leaves shampoo scum on every surface, you can still get dark growth at the seam. But quality silicone holds up longer and stays tighter. I like GE Advanced Silicone 2 Kitchen & Bath for basic jobs because it is easy to find and usually runs about $8 to $11 a tube. For a higher-end color match, Laticrete Latasil and Mapei Mapesil T Plus are worth a look, usually in the $10 to $20 range depending on color and store. Those are the tubes I reach for when I want the joint to disappear and stay put.
Where I use it, and where I don't
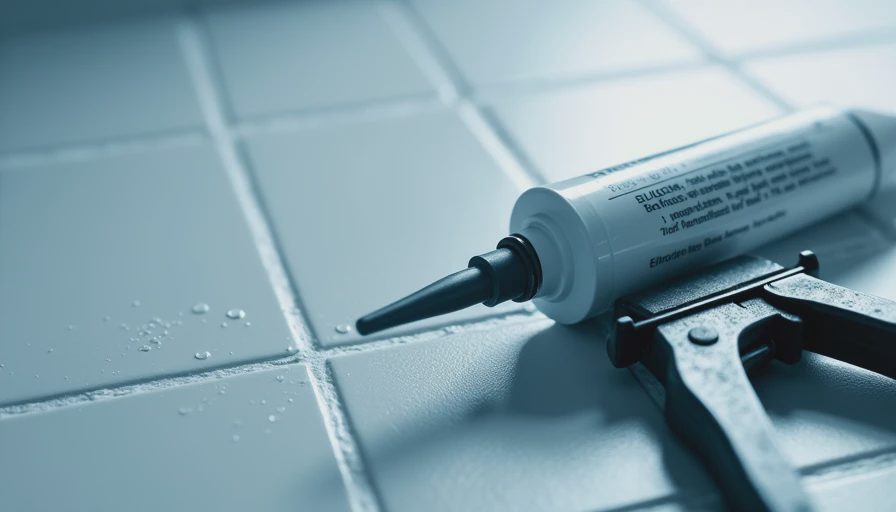
I still reach for silicone sealant for wet areas at the tub-to-tile line, shower corners, around shower doors, and at the joint where a backsplash meets a countertop or sink deck. Those are movement joints, not places where grout should be doing the work. Grout is a finish, not a waterproof expansion joint, and anybody who tells you otherwise is selling something. In a tub surround, especially an older one with 3x6 subway tile or a cultured marble pan, a neat silicone bead is what keeps the seam from opening when the house settles or the tub flexes.
I do not use it where a surface needs to be painted, and I do not use it to patch a giant crack and pretend the problem is solved. If a seam is moving more than a little, the framing or substrate needs attention first. And if you are trying to seal over dirty, mildewed, half-peeled old caulk, forget it. New silicone does not bond well to old silicone, which is why so many DIY repairs fail before the homeowner has even finished paying for the dinner pizza.
The same caution goes for the wrong product in the wrong room. A paintable kitchen-and-bath caulk from the bargain shelf can be fine in a dry vanity seam, but it is not what I want in a shower that gets hit with hot water every day. That is exactly where silicone sealant for wet areas earns its keep, because water exposure is the whole point of the joint.
Prep is 80 percent of the job
Before I lay a bead, the seam has to be clean, dry, and free of soap scum. I scrape out the old material with a sharp utility knife or a caulk removal tool, then I wipe the joint down with denatured alcohol if the surface allows it. On glossy tile or porcelain, that last wipe matters. Dust, body oils, and old cleaner residue all shorten the life of the bead. If the joint is damp, I wait. Rushing this part is how people end up redoing the same seam every year.
Masking tape helps if you are not steady with a caulk gun, but I do not rely on tape to hide bad technique. A good joint in a tub surround is usually a small, even bead, not a giant worm of sealant squeezed everywhere. Most 10-ounce tubes cover around 40 to 50 linear feet at a modest bead size, so one shower often takes one tube and maybe a little more if the corners are wide. That is cheap insurance when you compare it with replacing drywall, insulation, or a rotted sill plate.
How I apply it without making a mess
I cut the tip smaller than most beginners think they should, usually at a shallow angle, and I aim for a bead that looks intentional instead of bloated. Then I move in one continuous pass and smooth it quickly with a caulk tool or a wet finger, depending on the surface and the product. The goal is not a perfect sculpture. The goal is full contact on both sides of the joint and a smooth edge that sheds water. Once the bead starts skinning over, stop messing with it.
Cure time matters more than people think. Some products skin in minutes but need 24 hours or more before heavy water exposure. I tell homeowners not to run a shower the same afternoon unless the label specifically says they can. If you are sealing around a sink or tub, give it the full cure window. A rushed bead that gets flooded too soon turns into a sticky failure, and then you are back to scraping it off in strips.

The mistakes that make a small job turn into a leak
The worst mistake is trying to save five bucks on the tube and fifty bucks in labor. The second worst is sealing over a dirty seam and pretending mildew is just a cosmetic issue. It is not. Mildew at the edge of a shower tells you the joint is holding moisture, and moisture is what gets into drywall, wood framing, and insulation. Another common mistake is using a hard caulk where a flexible joint is needed. That bead looks fine for a month, then the tub flexes and the crack comes right back.
I also see people buy the wrong color and then glob it on to hide the mismatch. That never looks good. If you want a cleaner result, buy the right color from the start and keep the bead narrow. On a white subway-tile shower, a white or bright white silicone usually looks cleaner than a beige compromise. On stone or darker tile, color-matched sealant can make the whole job look more professional without adding much cost.
If you are standing in the aisle trying to decide between another cheap tube and silicone sealant for wet areas, I’d spend the extra money and move on with life. The difference shows up later, when the bathroom stays tight instead of cracking and smelling like old water.
Bottom line: use silicone sealant for wet areas anywhere the joint gets real water, prep the surface like you mean it, and buy a brand that matches the job. A bathroom built right once is a bathroom you forget about. That's the point.



No notes yet — be the first to inscribe one.