If you're staring at a split, stained, or dog-chewed strip and wondering how to replace a hardwood floor board, the good news is this is usually a small repair, not a full-room disaster. I’ve fixed plenty of these in old Philadelphia row houses where one bad board was the result of a leak, a radiator drip, or somebody dragging a couch like they were loading a piano. The trick is knowing when the board is the problem and when the floor underneath is talking to you. If the damage is isolated and the subfloor is solid, this is a weekend job for a careful DIYer with the right saw and a little patience.
The reason people mess this up is they rush the cut. Hardwood floors are forgiving until you hit the tongue on the wrong side or rip up two neighboring boards because you got aggressive with a pry bar. The clean way is simple enough: isolate the bad piece, cut it into sections, remove it without tearing up the surrounding boards, then fit a new board that matches the width, thickness, and species as close as you can get. Oak is common, maple is harder to match, and prefinished floors can be the most annoying because the sheen and edge profile have to line up too.
How to replace a hardwood floor board the clean way
Start by finding out whether the board is nailed face-up, blind-nailed through the tongue, or glued. In a lot of older homes, you’ll see a mix of methods depending on who worked there last. A thin pry bar, an oscillating multi-tool like a Fein or DeWalt, a sharp chisel, a utility knife, and a finish nail set are the core tools. If the board sits in the middle of the room, score the finish line first so the top coat doesn’t chip past your cut. Then set your saw depth just a hair shallower than the floor thickness. That matters. On 3/4-inch oak, you do not want to kiss the subfloor with the blade unless you enjoy extra work.
Cut down the middle of the bad board and then make two relief cuts from the center toward each end, stopping short of the adjoining boards. That lets you lift the middle out in sections instead of fighting the tongues and grooves like you’re prying open a paint can with a screwdriver. If the board is glued, warm patience beats brute force. A heat gun on low can soften old adhesive, but keep it moving so you do not scorch the finish. Once the old strip is out, scrape the pocket clean and vacuum it well. Dirt in the joint makes the new board sit proud, and proud boards are what catch socks and drive people crazy.
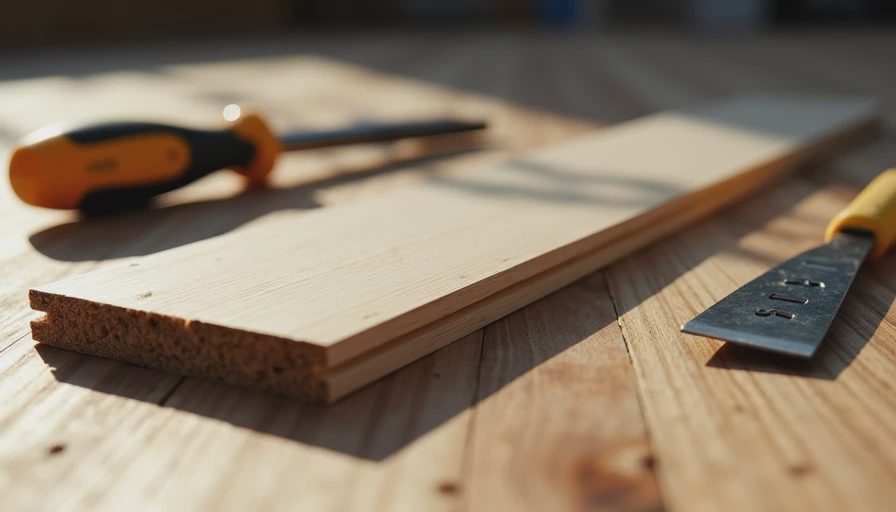
A replacement board should be acclimated indoors before you install it. If you bring it in from a cold truck and jam it in right away, it can move on you after the heat kicks on. That means leaving it in the room for at least a day or two. If you’re buying from a lumberyard, ask for unfinished oak or maple that matches your floor thickness exactly. Big-box stores like Home Depot and Lowe’s usually stock common red oak widths, but older floors often use odd sizes, so bring a cutoff with you if you can. That little sample saves more failed trips than any fancy app.
Matching the new board to the old floor
This is where the repair either disappears or screams at you every time you walk past it. If the floor is unfinished, life is easy enough: install the board, sand the spot, then stain and topcoat the area to blend. Minwax makes common stains that are easy to find, and Bona or DuraSeal finishes are standard in a lot of houses because they hold up and are easy to source. For prefinished flooring, the challenge is the factory sheen. A satin board next to a semi-gloss board will look wrong even if the color is close.
The best match comes from using a board with the same species, cut, and width, then easing the edges with fine sandpaper so the joint does not catch light. If the surrounding floor has yellowed over time, don’t expect a brand-new piece to vanish on day one. Older oak darkens, amber finishes warm up, and sunlight does its own thing. A tinted stain pen can help tame the contrast on a small repair, but I would rather see a slightly visible patch than a sloppy over-stained blotch that looks like somebody tried to hide a crime scene.
What usually goes wrong on DIY repairs
The biggest mistake is cutting too deep and nicking the subfloor. The second is ripping the groove off the neighboring board, which turns one repair into a three-board headache. Another common failure is buying the wrong thickness. Three-quarter-inch solid oak is not the same as half-inch engineered flooring, and forcing the wrong piece in will either leave a lip or create a gap that opens later. Moisture is another quiet troublemaker. If the board failed because of a leak from a dishwasher, radiator, or window, fix that first. Replacing a board over a wet subfloor is a fast way to earn the same job twice.
If the surrounding floor has been sanded once or twice already, be careful about aggressive sanding in the repair area. You can burn through the finish or make a shallow dish that shows in side light. I’ve also seen people try to hide a bad fit with too much wood filler. That’s not a repair; that’s a confession. Fillers are fine for a tiny nail hole or hairline seam, not for a board that should have been cut better.
Time, cost, and when to call for help
For a straightforward repair, a DIYer can spend $40 to $120 on a replacement board, adhesive, blades, sandpaper, stain, and finish if they already own the tools. If you need to buy an oscillating saw, a decent one from DeWalt or Bosch might add another $100 to $180, and a fine-tooth blade is worth every penny. A pro usually charges more than the material because the labor is fussy, not because the job is huge. For one damaged board, I’d expect a handyman or flooring pro to land somewhere around $200 to $500 depending on access, matching, and whether refinishing is needed. If the floor is valuable, historic, or the damage runs under a cabinet, the number climbs fast.
There’s a point where you stop pretending this is a Saturday project. If the board is in a tight doorway, if it runs into a wall you can’t get behind, or if the subfloor is soft, call somebody who does flooring for a living. That is not giving up. That is avoiding a second repair bill. Once you’ve done how to replace a hardwood floor board once, the next one feels a lot less mysterious, and that is usually the whole game with home repairs: cut carefully, fit cleanly, and do it right so you only think about it once. A bathroom built right once is a bathroom you forget about. That's the point.

No notes yet — be the first to inscribe one.