I've pulled out more rotted subfloors than I care to count—row houses in South Philly, Victorians in Germantown, you name it. DIY subfloor repair is one of those jobs that looks intimidating but is actually straightforward if you've got the right tools and a little patience. The key is understanding why it failed in the first place and using materials that won't let you down five years down the road.
Why Your Subfloor Failed (And What That Means for the Repair)
Most subfloor rot starts with a leaky toilet flange or a shower pan that wasn't sealed right. I've seen plenty where the homeowner just laid new tile over a soft spot, and now the whole thing's a spongy mess. Before you start any DIY subfloor repair, you need to cut out the bad section and find the moisture source. If you don't fix the leak, your new plywood will rot just as fast as the old stuff. Check the flange, the shower curb, and any pipe penetrations. If you see mold or water stains, track them back to the source.
The Right Materials for a DIY Subfloor Repair
You don't need anything fancy. For a bathroom subfloor, use 3/4-inch exterior-grade plywood—CDX or better. Stay away from OSB under tile; it swells when it gets wet. Grab a sheet of AdvanTech if you can find it—it's more moisture-resistant than standard plywood and worth the extra cost. You'll also need a circular saw with a sharp blade, a reciprocating saw for cutting nails, a pry bar, and a hammer. For fasteners, use coated deck screws or structural screws like GRK R4s. Don't use standard drywall screws; they snap under the load. A tube of PL Premium construction adhesive helps bond the new plywood to the joists.
Step-by-Step: How to Cut Out and Replace a Rotted Section
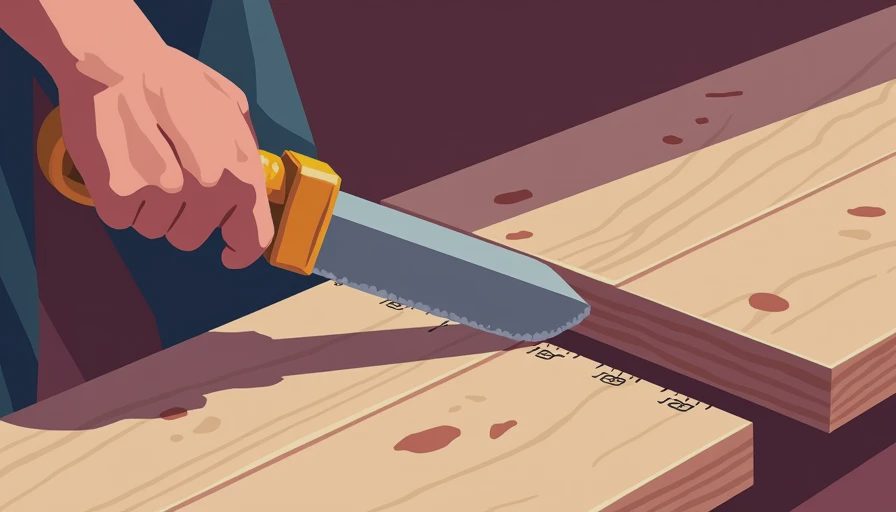
Start by marking a square around the damaged area, hitting the center of the joists on both sides. Set your circular saw to the depth of the subfloor (usually 3/4 inch) and cut along your lines. Use a reciprocating saw to cut any nails that are holding the old piece down—go slow so you don't hit plumbing or wiring underneath. Pry out the old section. Clean off the joist tops with a chisel or wire brush. Measure and cut your new plywood panel—leave a 1/8-inch gap around the edges for expansion. Apply a bead of construction adhesive to the joists, set the plywood in place, and screw it down every 6 inches along the joists. Use a level to check it's flush with the rest of the subfloor. If it's slightly high, plane it down; if low, shim with roofing felt.
What to Watch Out For (and When to Call a Pro)
If the rot extends more than a couple of feet from the leak, or if you find insect damage, you might be dealing with a structural issue. That's when a DIY subfloor repair turns into a full-frames repair. Also, if the subfloor is over a crawlspace with standing water, fix the drainage before you touch anything inside. I've seen guys replace a subfloor only to have the new one rot in six months because they ignored the ground moisture. One more thing: if you smell sewage, stop. That's a plumbing problem that needs a plumber, not a remodeler. Otherwise, for a standard two-foot by two-foot patch, you're looking at about half a day of work and maybe $60 in materials. That's a fraction of what a pro would charge.
Cost Breakdown: DIY vs. Hiring a Pro
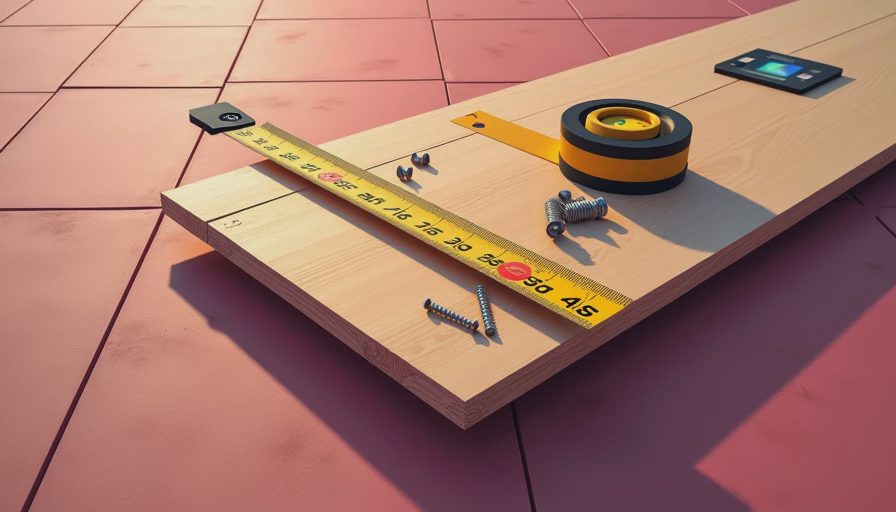
Let's put real numbers on it. For a typical 2x2 foot patch, your materials cost is roughly $60: a sheet of 3/4-inch plywood ($45), a box of structural screws ($15), and a tube of construction adhesive ($8) — you'll have leftover for future repairs. A pro would charge $300 to $600 for the same job, including labor and markup. If you're patching a larger area, say 4x4 feet, DIY materials run about $120 (two sheets, extra screws, adhesive). A contractor might quote $600 to $1,200. The savings are obvious, but only if you do it right. I've seen DIY jobs where someone used the wrong plywood or skipped the adhesive, and the floor squeaked and sagged within a year. When you do a proper DIY subfloor repair, you can bank $240 to $540 on a small patch alone. Over a whole bathroom renovation, those savings add up fast.
The Bottom Line on DIY Subfloor Repair
A DIY subfloor repair isn't rocket science, but it does take attention to detail. Use the right plywood, find and fix the leak, and get those screws in straight. I've done this on my own row house and on a dozen jobs for friends. Every time, the repair outlasts the rest of the flooring. A bathroom built right once is a bathroom you forget about. That's the point.

No notes yet — be the first to inscribe one.