If you’re tearing out an old shower in a 1920s or 1970s house, the waterstop membrane is the part nobody sees but everybody ends up paying for if it’s done wrong. Tile and grout are not the waterproof layer. They look finished, but they leak enough water to keep a shower assembly wet all the time. That’s how you get swollen framing, moldy drywall, loose tile, and a bathroom that smells like a damp basement. A bathroom built right once is a bathroom you forget about. That’s the point.
What a waterstop membrane actually does
A waterstop membrane sits behind or directly under the tile and keeps water from getting into the walls, curb, and shower floor. In a good shower, the tile is the finish surface and the membrane is the real defense. Water that gets through grout, corners, and fastener holes should hit that barrier and move safely to the drain. If you’re using a traditional pan, the membrane belongs in the pan assembly. If you’re using a modern surface system, it wraps the walls, niche, bench, and curb too.
I’ve torn out enough showers in South Philly row houses to know the difference between a shower that was built like a system and one that was pieced together from aisle-end coupons. The system lasts. The patchwork leaks. Most of the damage I see starts slow: a little moisture at the curb, a sloppy corner, a niche that never got sealed right. By the time the tile pops, the wood behind it is already cooked.
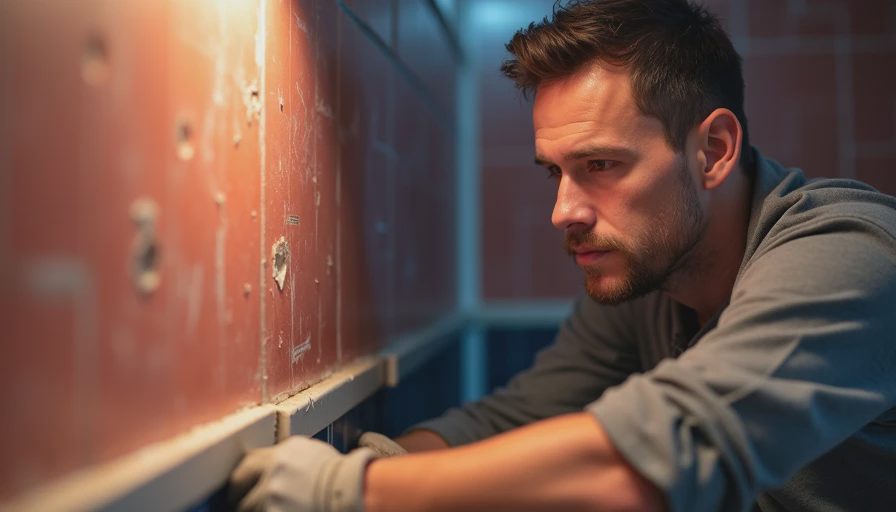
Sheet membrane or liquid-applied: which way makes sense
A waterstop membrane comes in two basic flavors: sheet and liquid-applied. Sheet products like Schluter Kerdi and Laticrete Hydro Ban Sheet give you a factory-controlled thickness, which is a big deal because thickness is the whole game. Liquid products like RedGard, Mapei AquaDefense, and Laticrete Hydro Ban Liquid can work well, but only if they’re rolled or troweled on heavy enough and allowed to cure properly. Too thin and you bought colored paint, not waterproofing.
For a straight shower remodel, I like sheet systems when the framing is decent and the layout is simple. They’re more forgiving on consistency, and once you learn the seams and overlaps, the install is pretty clean. Liquid makes sense for odd repairs, patched walls, or small bathrooms where you don’t want to buy a full kit. But if a homeowner tells me the walls are out of square, the curb is custom, and the niche is the size of a shoebox, I want the product that gives me the best shot at uniform coverage.
Where cheap installs fail first
Most failures don’t come from the brand name on the box. They come from corners, seams, and the drain connection. A waterstop membrane can be first-rate and still fail if the installer skips banding, pokes too many fasteners through the wet zone, or makes a pretty niche that never got fully wrapped. I’ve seen people spend $8,000 on tile and save $150 on the part that keeps the whole room dry. That’s backwards.
There was a Fishtown job where the owner thought the old shower was “just stained.” It wasn’t stained. The curb was soft, the bottom plate was black, and the subfloor had the kind of spring you feel in a trampoline. The previous installer had used decent materials, but the seams at the floor-to-wall transition were a mess. That’s the cruel part: one bad detail can ruin an otherwise expensive job. Once water gets in there, it doesn’t negotiate.

What it costs and which brands are worth a look
If you’re shopping materials, a waterstop membrane system is not where you should be chasing the absolute cheapest number. Sheet membranes often land around $1.50 to $3.50 per square foot, with accessories adding up fast. Liquid products can look cheaper on the shelf, but once you buy primer, fabric, corners, and enough gallons to hit the proper thickness, the gap shrinks. A full shower kit from a name brand can run roughly $100 to $300 before tile and trim.
The brands I see hold up are the ones tile setters can actually build with day after day. Schluter is popular because the system is complete and the drain details are clear. Laticrete has solid options that work in real-world remodels, not just glossy brochures. Mapei and Custom Building Products are common at big-box stores and can do the job when the instructions are followed exactly. If a salesperson cannot explain how the drain ties in, keep walking. That answer matters more than the color of the bucket.
How I’d buy one for a real bathroom remodel
If I were buying a waterstop membrane for my own house, I’d start with the shower shape and the drain. Standard alcove shower with clean framing? I’d lean sheet. Tub surround with a couple of patched walls? Liquid can be fine if the install is disciplined. Steam shower, curbless shower, or a layout with a lot of corners? I want a system with a tested drain, preformed corners, and a clear installation manual that the crew will actually read.
The other thing to watch is labor. Most homeowners get hung up on tile price and forget that the membrane is what protects the framing, drywall, and insulation. Spend a little more on a real system and a careful installer, and you avoid the ugly bill later when mold, rot, or a failed pan shows up. If you’re doing the work yourself, take the flood test seriously and don’t rush the cure time because you want to shower on Sunday.
Bottom line: buy the waterstop membrane that matches the shower you’re building, follow the manufacturer details, and don’t let anybody talk you into treating waterproofing like an afterthought.

No notes yet — be the first to inscribe one.