If you're remodeling a bathroom, learning how to pour a shower pan is one of those skills that can save you a pile of cash and give you a custom fit that a prefab pan just can't match. I've done it a hundred times, and while it's not rocket science, it does demand patience and the right technique. In this guide, I'll walk you through the process from start to finish, including materials, prep, and the actual pour. No fluff, just what works.
Why Bother Pouring Your Own Shower Pan?
A poured shower pan—also called a mortar or mud bed—is the gold standard for waterproofing and longevity. Prefab pans are fine for some, but they rarely fit odd-sized spaces, and the slope can be iffy. When you pour your own, you control the pitch, the thickness, and the drain placement. I've seen too many leaks from cheap plastic pans that cracked after a year. A proper mortar pan, with a PVC liner and a clamping drain, will outlast the tile you put on top of it. Plus, you save about $300 to $500 compared to a custom-sized fiberglass pan. That's a nice chunk of change you can put toward better tile or a nicer valve.
Materials and Tools You'll Actually Need
Before you start, gather everything. Nothing worse than running to the hardware store mid-pour. Here's the list:
- Dry-pack mortar mix (or mix your own: 5 parts sand to 1 part Portland cement)
- PVC or CPE shower pan liner (40 mil minimum)
- Clamping drain assembly (make sure it matches your pipe size, usually 2-inch)
- Galvanized metal lath
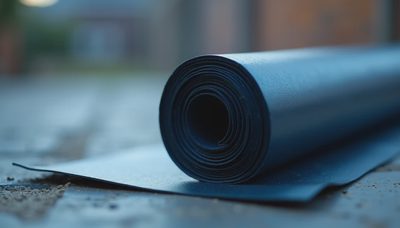
- Roofing felt or 15-pound tar paper
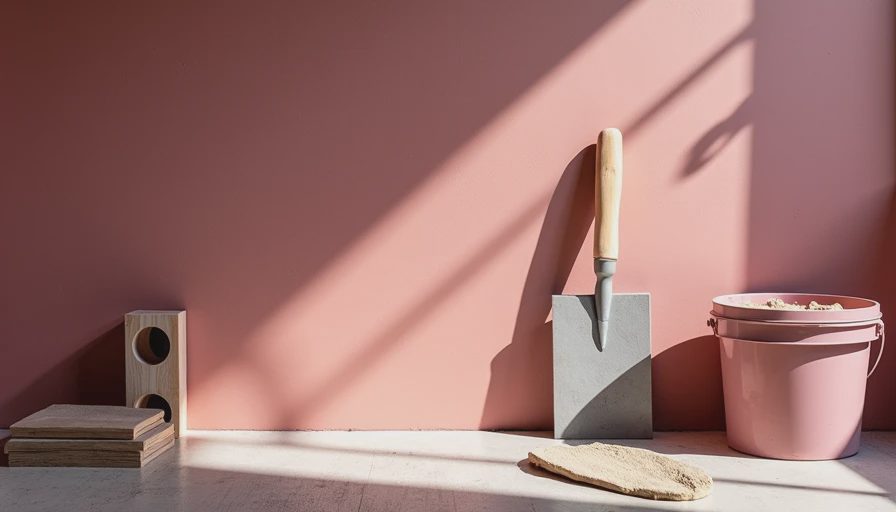
- A trowel, a straight 2x4, a level, a rubber mallet
- A 5-gallon bucket, a hoe, and a wheelbarrow for mixing
I use Schluter's Kerdi system for some jobs, but for a traditional mortar bed, you can't beat Oatey's PVC liner and clamping drain. They're reliable and available at any Home Depot.
Step-by-Step: How to Pour a Shower Pan
1. Prep the Subfloor
Start by removing the toilet and any existing flooring. You need a clean, solid subfloor—plywood or OSB, at least 3/4 inch. Screw down any loose boards and patch holes. Lay down roofing felt over the whole area, overlapping seams by 2 inches. Then staple metal lath over the felt. This gives the mortar something to grab.
2. Set the Drain
Remove the drain strainer and screw the clamping drain body onto the pipe so that the top of the drain flange is about 1/2 inch above the subfloor. This determines your slope. Use a level to make sure it's dead center and plumb. The bottom flange should be level—shim if needed.
3. Mix the Mortar
Dry-pack mortar should be just damp enough to hold together when squeezed in your fist. Too wet and it'll slump; too dry and it won't compact. Mix in a wheelbarrow, adding water a little at a time. For a 3x3 shower, you'll need about 2 bags of dry-pack mix.

4. Pour the Base Layer
Dump the mortar around the drain and start packing it down with a trowel. Build up toward the walls so you get a slope of about 1/4 inch per foot. Use a straight 2x4 and a level to screed the mud flat. Work from the drain outward. The final height at the walls should be about 1 to 1.5 inches. Check with a level in all directions.
5. Embed the Liner
Let the base cure for 24 hours. Then roll out your PVC liner so it overlaps the curb (if you have one) and goes up the walls at least 6 inches. Cut it to fit around the drain, leaving a few inches extra. Place the top clamping ring over the liner and tighten the screws evenly. Fold the liner neatly into corners—use corner patches if needed. The liner should be smooth, no wrinkles.
6. Pour the Top Sloping Bed
Now mix another batch of dry-pack mortar. This top layer is thinner—about 1.5 inches at the walls tapering to about 1/2 inch at the drain. Pack it over the liner, again using the 2x4 and level to maintain the slope. This is your final surface for tile. Smooth it, but don't make it too smooth—tile thinset bonds better to a slightly rough surface.
Let the mortar cure for another 24 hours. Then you're ready to tile.
Common Mistakes and How to Avoid Them
- Skipping the pre-slope: Without it, water sits on the liner and grows mold. Never skip the base layer.
- Using wet mortar: If you can squeeze water out of a handful, it's too wet. Mix drier.
- Forgetting to slope toward the drain: Sounds obvious, but I've seen pans that actually slope away. Check with a level multiple times.
- Puncturing the liner: After the liner is down, don't kneel on it with sharp tools. Use a scrap piece of plywood to distribute your weight.
If you mess up, you can usually patch a small hole in the liner with a PVC patch and primer, but it's better to be careful.
The Bottom Line
Learning how to pour a shower pan takes a weekend and some sweat, but the result is a rock-solid, leak-free base that'll last decades. It's not for every DIYer—if you're nervous about the slope or the liner, you can always hire a pro. But if you've got basic tiling skills and a willingness to get muddy, this is one of those jobs that rewards you every time you step into the shower. A bathroom built right once is a bathroom you forget about. That's the point.
No notes yet — be the first to inscribe one.