If you're gutting a bathroom, you'll eventually face the question of how to install subfloor in bathroom spaces that see moisture, heavy fixtures, and foot traffic. I've pulled up hundreds of failed bathroom floors—warped particleboard, moldy OSB, and subfloors that felt like a trampoline. The right approach starts before you lay a single sheet of plywood.
Why Bathroom Subflooring Is Different
A bedroom subfloor can get away with cheap materials and sloppy seams. A bathroom subfloor sits under a wet environment, often over a crawlspace or basement, and carries the weight of a cast-iron tub, a toilet, and a tile installation that shouldn't crack. The wrong subfloor choice here leads to callbacks within two years. Trust me, you don't want to explain why a homeowner's new marble tile is grouting up with hairline cracks.
Step 1: Assess Your Current Subfloor
Before you demo anything, get under the floor if you can. Look for rot, sagging, or previous water damage. In my Philadelphia row house, the original subfloor was 1x6 planks with gaps big enough to drop a screwdriver through. That's not going to work for tile. You need a solid, level, and dry base. Probe around the toilet flange and tub drain—those are the first spots to rot.
If the subfloor is in decent shape, you might be able to overlay it with a new layer of plywood. But if there's any sign of moisture damage, rip it all out. You'll thank me later.
Step 2: Gather Your Tools and Materials
Here's what I use for every bathroom subfloor job:
- Plywood: Exterior-grade, exposure 1, tongue-and-groove 3/4-inch. Brand: I've had good luck with Georgia-Pacific and Murphy's. Avoid OSB in a bathroom—it swells when wet.
- Subfloor adhesive: Loctite PL Premium or similar. Don't skimp on the glue.
- Screws: 2-inch deck screws or subfloor screws (coarse thread, self-tapping). Use a screw gun, not a drill.
- Circular saw: With a fresh blade. A dry blade tears plywood.
- Crowbar and pry bar: For demolition.
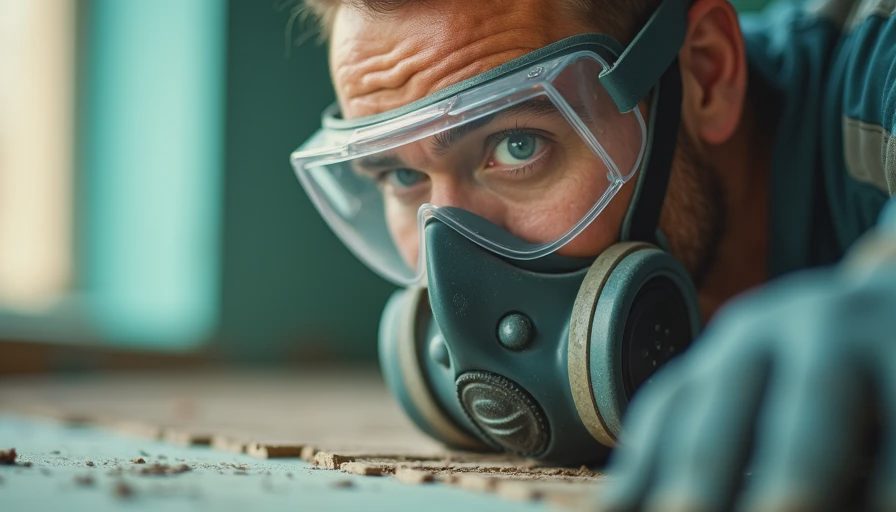
- Safety gear: Dust mask, eye protection, knee pads. Your knees will thank you.
Optional but recommended: a laser level for checking flatness, and a moisture meter to confirm the subfloor is dry before moving on.
Step 3: Remove the Old Subfloor
Work in small sections, cutting along joists with a circular saw set just shy of the joist depth. Use a pry bar to lift the old sheets. Watch for wiring and plumbing—you don't want to cut through a Romex or a drain line. If you hit a pipe, stop and reroute your cut. I've seen guys saw right through a vent pipe and then spend an afternoon fixing it.
Once the old subfloor is out, clean the joists. Remove any remaining nails, adhesive chunks, or debris. Check the joists for level. If they're off, you may need to shim or plane them. A floor that rocks will crack tile eventually.
Step 4: Install the New Subfloor
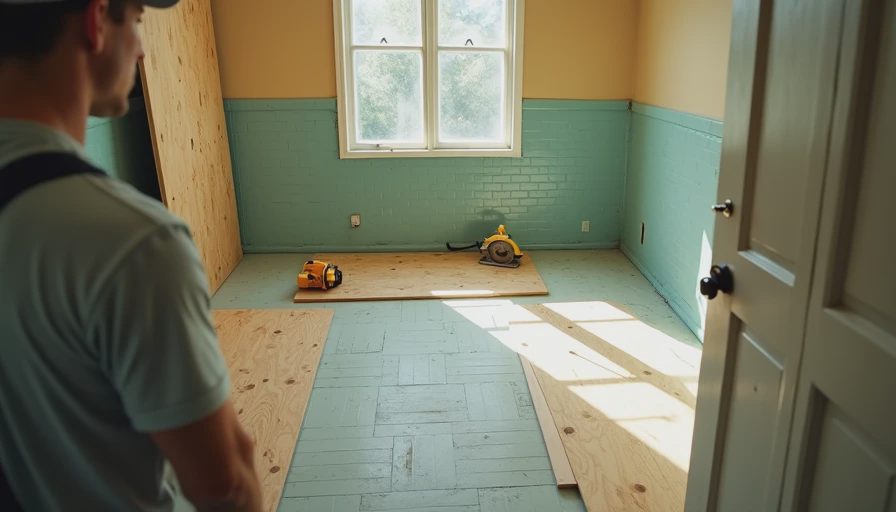
Position your first sheet of plywood perpendicular to the joists. That gives you a stronger floor. Leave a 1/8-inch gap at the walls for expansion. Start in a corner and work your way across. Stagger the seams so they don't line up—every other joist is the rule. Apply a generous bead of adhesive along each joist before laying the sheet, then screw every 6 inches along the edges and every 8 inches in the field. Drive screws just below the surface—don't strip them.
For a bathroom, I prefer a double-layer subfloor: a 3/4-inch base layer plus a 1/2-inch underlayment layer (like BCX plywood) on top, with the second layer offset from the first. This adds stiffness and reduces chance of tile cracks. If you're on a budget, a single layer of 3/4-inch tongue-and-groove can work, but don't go thinner.
Step 5: Install the Underlayment and Waterproofing
Underlayment is different from subfloor. For bathrooms with ceramic or porcelain tile, I recommend a cement backer board like HardieBacker or Durock, or a membrane like Schluter Ditra. Cement board gives you a solid base that won't wick moisture. Ditra adds a decoupling layer that helps prevent cracks from floor movement.
Cut the backer board with a carbide scoring tool or a grinder with a diamond blade. But the sheets tightly, leaving a 1/8-inch gap. Embed them in a bed of thinset mortar (unmodified for Ditra, modified for cement board under the board but not between board and tile in some cases—read the instructions). Screw with backer board screws every 6 inches along edges and 8 inches in the field. Tape and mud the seams with alkali-resistant mesh tape and thinset.
Step 6: Final Checks Before Tile
Let the seams dry. Check the floor with a long level—no more than 1/8-inch variation in 6 feet. If you find a low spot, fill with self-leveling compound. High spots need to be ground down. This is the last chance to fix it before tile goes down.
Apply a waterproofing membrane over the entire floor if budget allows. I've used RedGard for years—two coats brushed on, with fabric at the seams. In a shower, you need more; on the bathroom floor, it's belt-and-suspenders protection.
The Bottom Line
A bathroom built right once is a bathroom you forget about. That's the point. Take the time to learn how to install subfloor in bathroom spaces with care, and you'll avoid headaches down the road. The extra hour you spend leveling and waterproofing now will save you from tearing out tile later.

No notes yet — be the first to inscribe one.