I'll never forget the call. A homeowner in Fishtown, three months after his brand-new bathroom was finished, with water staining the ceiling of the living room below. The GC had used a one-piece fiberglass pan with no pre-slope, no waterproofing under the tile floor, and—get this—caulk instead of a proper drain seal. That shower pan installation detail was a disaster waiting to happen. A bathroom built right once is a bathroom you forget about. That's the point. And it starts with getting the shower pan installation detail right.
A shower pan is the sloped, waterproof base under your tile or prefab floor. Miss a step here, and you're looking at mold, rot, and a demolition that costs more than the original job. I've seen it all in 400+ bathrooms. Let me walk you through the critical shower pan installation detail so you don't make the same mistakes.
The Two Main Types of Shower Pans
There are two ways to build a shower pan: a traditional mortar bed (the way I learned it in the early 90s) and a prefabricated pan made of fiberglass, acrylic, or solid surface. I've installed hundreds of both. The right choice depends on your subfloor, budget, and whether you're willing to wait for a mortar bed to cure.
A mortar bed pan—also called a dry pack or mud pan—is the gold standard for durability and custom fit. You mix sand and cement (typically 4:1 or 5:1 sand-to-cement ratio), pack it in layers, and slope it 1/4 inch per foot toward the drain. I use Portland cement and clean, sharp sand. No additives. This method lets you dial in the exact drain location and pan shape. For a typical 36x36-inch shower, a mortar bed takes about an hour to install and another 24 hours to cure before you can walk on it.
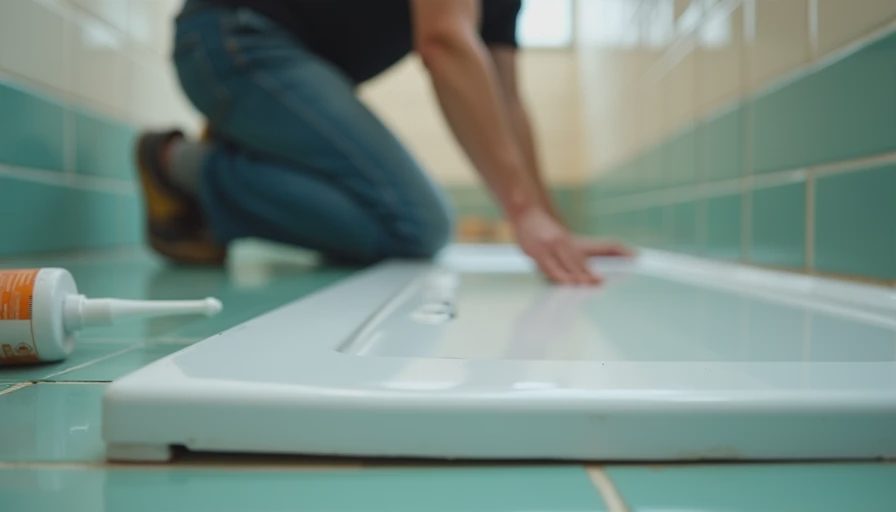
Prefabricated pans, on the other hand, are faster but less forgiving. Brands like Oatey, Schluter (the Kerdi line), and DreamLine offer pans that install in an afternoon. The catch: your subfloor has to be dead level, and the drain location must match the pan's pre-cut hole. I've pulled out plenty of prefab pans where the installer didn't check the floor flatness first. A 1/8-inch dip under the pan means the whole thing rocks, which cracks the surrounding tile.
Why the Pre-Slope Matters
If you're doing a traditional mortar bed shower pan installation, the pre-slope is non-negotiable. A pre-slope is a thin layer of mortar (about 1/2 to 3/4 inch thick at the drain, sloping up to the walls) that sits under the waterproof membrane. Its job is to direct any moisture that seeps through the tile or grout down to the drain weep holes. Without it, water pools under your tile and eventually finds a way through the weakest seam.
I've seen plenty of so-called pros skip the pre-slope because it adds a step. They slap the membrane directly on the subfloor and call it done. Two years later, the homeowner smells mildew. Don't be that guy. A proper pre-slope is cheap—maybe $20 in materials for a standard shower—and it buys you decades of dry subfloor.
The pre-slope also sets the stage for the final slope. After the membrane goes on, you pour a second mortar bed (the top layer) that follows the same slope. That top bed is what your tile sits on. If you get the pre-slope wrong—too flat, too steep, or not centered on the drain—you're fighting the geometry for the rest of the job. Take the time to screed it right. Use a level and a straight edge to check the fall before the mortar sets.
Waterproofing: The Membrane Game
This is where most shower pan installation details go sideways. You have two main waterproofing approaches: a traditional hot-mop or PVC liner system, or a sheet membrane like Schluter Kerdi or Wedi. Both work when installed correctly, but they have different gotchas.
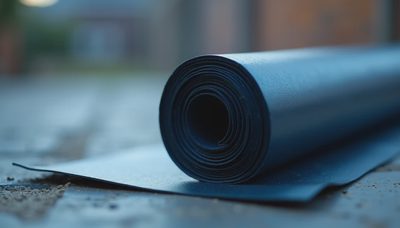
Hot-mop or PVC liners require a two-step mortar bed—the pre-slope, then the liner, then the final bed. The liner must be lapped up the walls at least 2 inches above the curb height. I've seen liners installed too low, and water wicked right up the corner. Also, the weep holes on the drain must be protected from mortar clogging them. I always put a small pea-gravel collar around the drain before the final bed goes in.
Sheet membranes like Kerdi are simpler: one mortar bed, peel-and-stick or thin-set applied sheets over everything. No two-step bed, no weeping holes. The catch is you have to be meticulous about overlaps and corners. A gap at the inside corner is a guaranteed leak. I've used Kerdi on dozens of jobs and love it, but only if the homeowner is okay with the higher material cost—about $150 more than a PVC system for a standard shower.
The Big Mistakes I See
After hundreds of tear-outs, I've noticed patterns. Here are the most common shower pan installation detail screw-ups:
Mistake 1: No pre-slope. Already covered. It's the number one cause of pan failure in traditional systems.
Mistake 2: Wrong drain height. The drain flange needs to be roughly 1/2 to 3/4 inches above the membrane for a proper weep hole gap. Too high, and your top mortar bed is too thin. Too low, and water sits on top of the drain.
Mistake 3: Curb failures. The curb—the step into the shower—is the weakest point in the pan. It gets wet from both inside and out. If the curb is wood wrapped in lath and mortar, make sure there's a vinyl or metal lath that extends into the waterproofing. I've seen curbs rot out in five years because the installer just nailed the lath to a 2x4 without proper blocking.

Mistake 4: Skipping the flood test. Before you tile, plug the drain and fill the pan with water to about 2 inches deep. Let it sit for 24 hours. If the water level drops, you have a leak. A quarter-inch of evaporation is normal in a dry room, but anything more means you need to find the leak and fix it. I've caught bad corner welds this way. It's a pain to drain and patch, but it beats tearing out tile later.
Mistake 5: Using cheap caulk at the drain. If you're using a clamping shower drain, the seal between the liner and the drain body should be a silicone gasket, not plumber's putty or caulk. Putty oozes out and clogs the weep holes. Silicone lasts longer and doesn't break down.
A Numbered Checklist for Your Shower Pan Installation
If you're doing this yourself or overseeing a contractor, here's a quick checklist to make sure the shower pan installation detail is followed:
- Subfloor must be flat within 1/8 inch over 10 feet. Use self-leveler if needed.
- Pre-slope pitched 1/4 inch per foot toward the drain. Check with a level and a long straight edge.
- Membrane (PVC or sheet) lapped at least 2 inches up walls. Corners must be sealed with manufacturer-approved tape or bonding flange.
- Drain weep holes protected. For PVC liners, pea gravel or a stack of 1/4-inch spacers keeps mortar out.
- Final mortar bed sloped same as pre-slope. Minimum thickness at drain: 1 inch.
- Flood test for 24 hours. No drop in water level.
- Curb waterproofed inside and out. Lath wrapped over the top and down both sides.
- Wait for mortars to cure fully before tiling. At least 24 hours for dry pack, longer when humid.
That's the shower pan installation detail that's saved my clients thousands in repairs. A bathroom built right once is a bathroom you forget about. That's the point.
No notes yet — be the first to inscribe one.