Wall tiles can make a bathroom look finished, but pretty pictures do not tell you whether the installation will survive ten years of steam, cleaning, and house movement. I have removed plenty of failed showers where the tile was expensive and the preparation was cheap. The honest truth is that wall tiles are only as reliable as the surface behind them.
Start With the Room, Not the Color
Before choosing a color, decide where the tile will go. A dry bathroom wall has different requirements from a shower wall that gets soaked every day. In a shower, the tile itself is not the waterproofing. Water can pass through grout joints, corners, and tiny gaps around fixtures, so the backer board and membrane have to stop it.
For a standard shower, I like a properly installed sheet membrane such as Schluter Kerdi or a liquid system such as RedGard over an approved cement-based backer. Follow one complete system instead of mixing random products from three manufacturers. Cement board, waterproofing, thin-set mortar, and seam treatment need to work together.
In a dry area, ceramic wall tiles are usually the sensible buy. They are lighter and easier to cut than porcelain, and a basic 4-by-12-inch ceramic subway tile often costs $2 to $5 per square foot. Porcelain is denser and tougher, but that strength is more useful on floors or heavily abused walls than behind a bathroom vanity.
The old plaster and drywall in houses built before 1980 deserve special attention. If the wall is wavy, loose, or soft from an earlier leak, tile will follow those problems. Remove damaged material, flatten the framing, and install a sound tile substrate before thinking about layout.
Ceramic, Porcelain, Glass, or Stone?
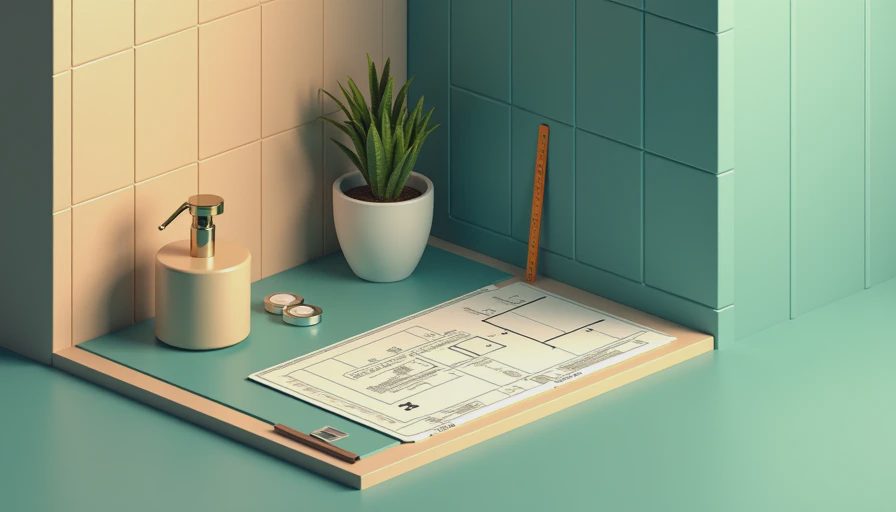
Ceramic is my default recommendation for most bathroom walls. It cuts cleanly, comes in thousands of styles, and does not require a special maintenance routine. Daltile, American Olean, and Marazzi all offer dependable ceramic lines at big-box and specialty suppliers. A good installer can make a $3 tile look better than a bad installer makes a $15 tile.
Porcelain wall tiles make sense when you want a large-format slab look, a very hard surface, or one material carried from floor to wall. Look for a tile rated for wall use and check its actual thickness. Some large porcelain pieces need more than a basic manual cutter. A quality wet saw, diamond blade, and a second person are often necessary for 24-inch panels.
Glass can be excellent as an accent, but I would not cover every shower wall with cheap glass mosaic. It shows thin-set ridges, uneven walls, and crooked lines immediately. Natural stone looks good in a magazine and can look tired in a neglected bathroom. Marble needs sealing and can stain or etch from ordinary cleaners. In a rental or busy family bathroom, ceramic usually wins the argument.
Size and Layout Matter More Than Trends
Large wall tiles reduce grout lines, which means fewer joints to clean. That sounds ideal, but large pieces demand flatter walls. If the wall varies by more than about 1/8 inch over 10 feet, big tile can create lippage, where one edge sits higher than the next. Flatten the wall first rather than trying to bury the problem in adhesive.
The popular 3-by-12 and 4-by-12 subway formats are forgiving and practical. A 50 percent offset can create a stair-step effect when the tile is slightly bowed, so a one-third offset or straight stack often looks cleaner. Dry-lay at least two rows before spreading mortar. You want to see where cuts land around niches, valves, windows, and corners.
Do not end with skinny slivers at both sides of the wall. Measure the full run, account for the grout joints, and shift the layout so the cuts are balanced. A 2-inch cut is not automatically a disaster, but a 3/4-inch strip beside a full tile tells everybody the layout was never planned.
Grout Joints, Edges, and Waterproofing Details
For many wall tiles, a 1/8-inch grout joint is a good starting point, but the tile manufacturer controls the minimum. Rectified porcelain can use tighter joints; irregular handmade-look tile needs more room. Never use unsanded grout in a joint wider than the product allows, and do not assume “waterproof grout” replaces a waterproof shower assembly.
Cement grout is affordable and easy to repair, but it needs proper mixing, cleaning, and curing. Premixed acrylic grout can be convenient for smaller jobs. Epoxy grout resists stains and chemicals, yet it costs more and is less forgiving during installation. On a family shower with white tile, a medium gray grout often hides soap residue better than bright white.
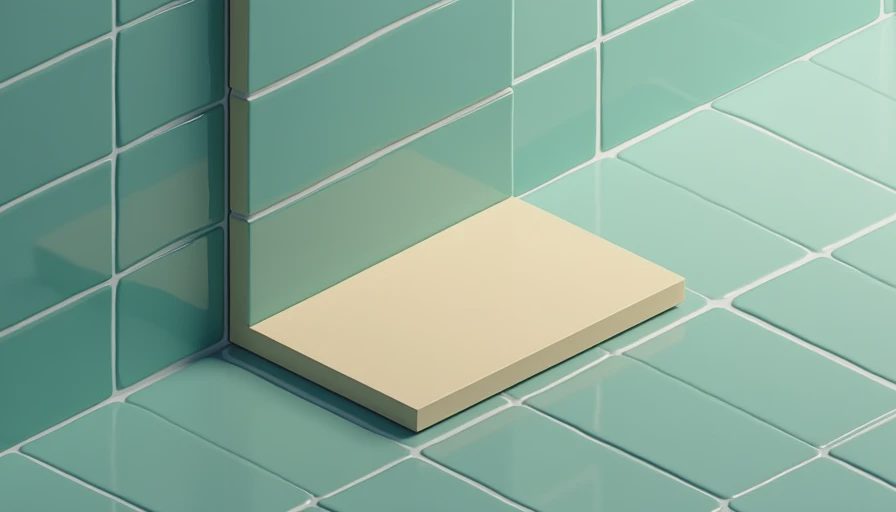
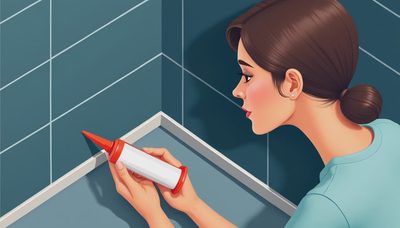
Corners and changes of plane should normally receive flexible sealant rather than rigid grout. Use a color-matched 100 percent silicone at vertical corners, the tub joint, and around fixtures. That joint can move slightly without cracking. Pack those corners with grout and the crack usually comes back.
What Wall Tiles Actually Cost
For a typical 60-by-32-inch tub surround, plan on roughly 75 to 90 square feet of tile after allowing for waste. Add 10 percent for a straightforward layout and closer to 15 percent for diagonal patterns, mosaics, or large-format cuts. At $3 per square foot, the tile may cost around $250 before trim, mortar, grout, waterproofing, and tools. At $12 per square foot, the same surround can pass $1,000 quickly.
Trim deserves a real budget. A metal Schluter edge might run $20 to $40 for an 8-foot piece, while a matching ceramic bullnose can cost more and may not be available. Include niche shelves, corners, transition pieces, spacers, leveling clips, and extra blades. The tile is not the whole job.
Labor varies by region and demolition difficulty, but a professional shower surround with removal, substrate repair, waterproofing, and installation can easily run $3,000 to $7,000. A simple dry bathroom wall is far less involved. The cheapest quote is often missing prep, waterproofing, disposal, or finish trim. Ask for those items in writing.
A Practical Buying Checklist
Buy a few samples before ordering a full pallet. Put them in the actual bathroom and view them under the room's lights. Some glossy wall tiles throw reflections everywhere, while heavily textured surfaces collect dust and soap. Check the lot numbers because color and size can shift between production runs.
Open several boxes before installation. Look for chipped corners, bowed pieces, inconsistent glaze, and shade variation. Keep spare pieces after the job; five years later, that exact tile might be discontinued. Photograph the box label and store leftovers somewhere dry.
Use the mortar specified for the tile and substrate. Large or heavy tiles may require a mortar labeled for large-and-heavy-tile installation. Comb mortar in one direction, press the tile firmly, and occasionally remove a piece to confirm coverage. In a wet area, missed contact behind a tile creates weak spots and gives water another place to travel.
I once repaired a row-house shower in Fishtown where the owner had paid for beautiful blue ceramic tile. The installer had stuck it directly to painted drywall, skipped waterproofing, and grouted the corners solid. The tile looked fine for a year. Then the lower wall swelled, the grout cracked, and the baseboard on the other side turned soft. We saved a few tiles, but most had to come out. The expensive part was not replacing the tile; it was repairing the framing and flooring after the leak.
The bottom line is simple: choose wall tiles you can source again, spend money on a flat substrate and complete waterproofing system, and plan every cut before mortar touches the wall. A bathroom built right once is a bathroom you forget about. That's the point.
No notes yet — be the first to inscribe one.