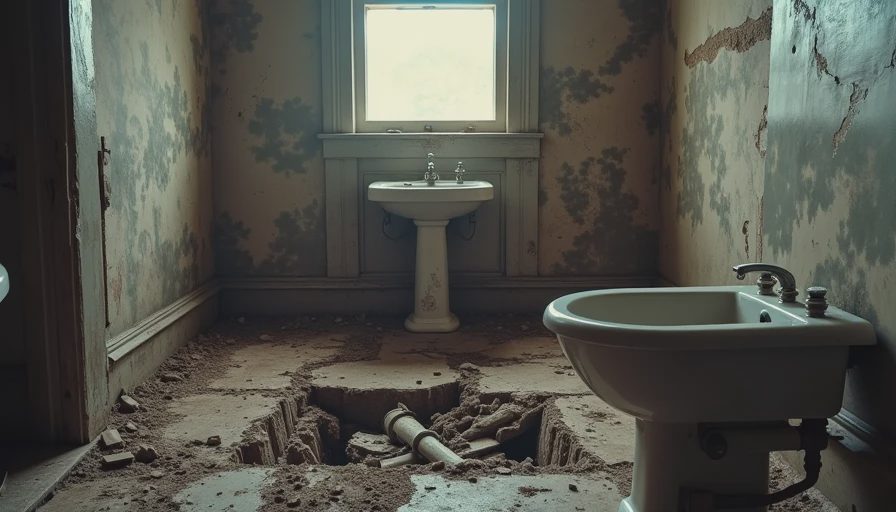
The Day I Almost Fell Into a Basement
It was a cold February morning in a 1910 row house in Graduate Hospital. Homeowner wanted new tile. I started demo like usual. Ten minutes in, my knee went straight through the subfloor like it was wet cardboard.
Thankfully I caught myself. But that moment taught me never to trust what you can’t see in an old bathroom.
A bathroom built right once is a bathroom you forget about. That’s the point. You can’t do that if your floor collapses first.
After 400+ bathrooms, I’ve seen it all under those old floors. Here’s what you need to know.
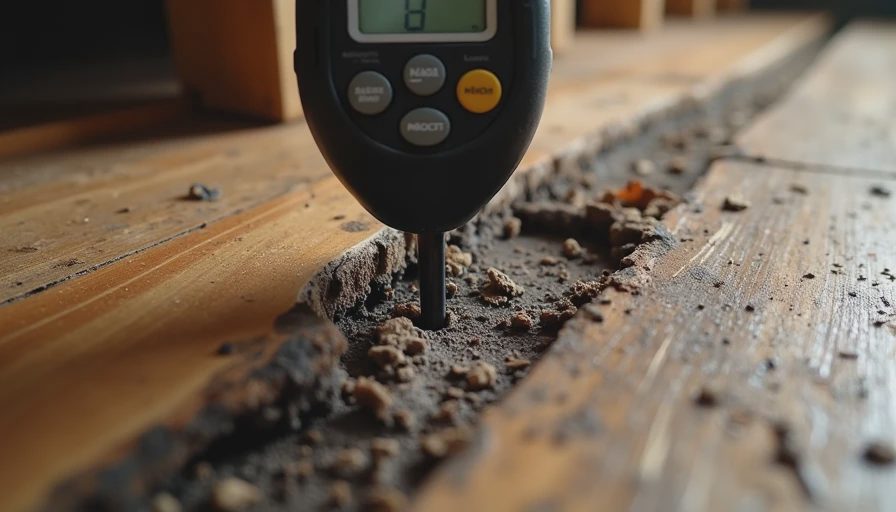
The Most Common Horrors Under Old Subfloors
1. Rot from Decades of Slow Leaks
This is the champion. Toilet flanges that leaked for 30 years. Shower pans with failed waterproofing. You name it.
The wood gets soft, dark, and spongy. Sometimes it looks okay from above but disintegrates when you press it.
2. Original Pine Boards That Have Seen Better Days
Many pre-1940 houses have thick pine plank subfloors. They’re often beautiful… but also bouncy, cracked, and full of gaps.
Tile hates movement. If your subfloor flexes more than 1/360 of the span, you’re asking for cracked grout and loose tiles later.
3. Multiple Layers of Old Flooring
I’ve pulled up six layers before: vinyl, linoleum, another vinyl, hardwood, and original pine. The weight adds up, and the unevenness creates problems.
4. Questionable Electrical and Plumbing
Random abandoned wires. Pipes that are barely hanging on. Sometimes you find old knob-and-tube wiring still live. Scary stuff.
5. Critter Evidence
Mouse droppings, insect damage, and once an entire dried bird carcass. Old houses have history.
How to Properly Inspect What’s Under There
Before You Touch Anything
Walk the floor in your socks. Feel for bounce or soft spots.
Flush the toilet and run the sink. Look for movement or sponginess around fixtures.
Check the ceiling in the room below for water stains.
During Demo
Remove flooring carefully in sections.
Use a screwdriver to probe the wood. If it sinks in easily, it’s bad.
Check joist spacing and condition.
Look for signs of previous repairs (they’re often half-assed).
Tools You Actually Need
Flashlight (headlamp is better)
Long screwdriver or awl
Moisture meter (cheap ones work fine)
Level and straight edge
Camera to document everything
Fixing What You Find
Minor rot: Cut out the bad section and sister the joists. Use pressure-treated lumber for anything near potential moisture.
Major issues: Sometimes you need to bring in a structural engineer or experienced carpenter. Don’t guess with floor framing.
Bouncy floors: Add blocking between joists or sister them. 3/4" plywood glued and screwed makes a huge difference.
Asbestos or lead concerns: Test if you see old mastics or suspicious materials. Better safe than sorry.
Real Cost Expectations
Basic subfloor repair in small bathroom: $400–$900
Full subfloor replacement: $1,200–$2,800 depending on access and damage
Major structural work: Can easily hit $5k+
This is why I always tell people to budget for surprises in old houses. The pretty tile is the cheap part.
My Standard Subfloor Recipe Now
Remove all old layers down to the joists if needed.
Repair or sister any damaged joists.
Install 3/4" tongue-and-groove plywood, glued and screwed every 6 inches.
Use Kerdi or similar waterproofing over the top.
Tile with confidence.
It costs more upfront but saves massive headaches later.
The Moral of the Story
Don’t assume your subfloor is fine just because it looks okay from above. Old bathrooms lie. They’ve had decades to hide their problems.
Take the time to inspect properly. Fix what you find. Your future self (and your downstairs neighbor) will thank you.
Got photos of what you found under your floor? Share them. I’ll tell you what I see and what I’d do about it.

No notes yet — be the first to inscribe one.