If you own an older house, replacing wooden floorboards is usually not the first job you wanted, but it is one of the ones that keeps a small problem from becoming a structural headache. A soft spot near a tub, a dark stain by a radiator, or a board that squeaks every time someone crosses the room is your floor telling you something. Ignore it long enough and you stop talking about a repair and start talking about joists, leaks, and money.
Replacing wooden floorboards without chasing the wrong problem
The first rule with replacing wooden floorboards is to find out why the damage happened. Water is the usual thief. I have seen a slow toilet leak, a bad wax ring, a cracked supply line, and one sloppy dishwasher install all turn a few boards into a bigger repair. In an old Philadelphia row house, a small leak can travel under the finish and leave the wood looking fine until you step on it and hear the floor give.
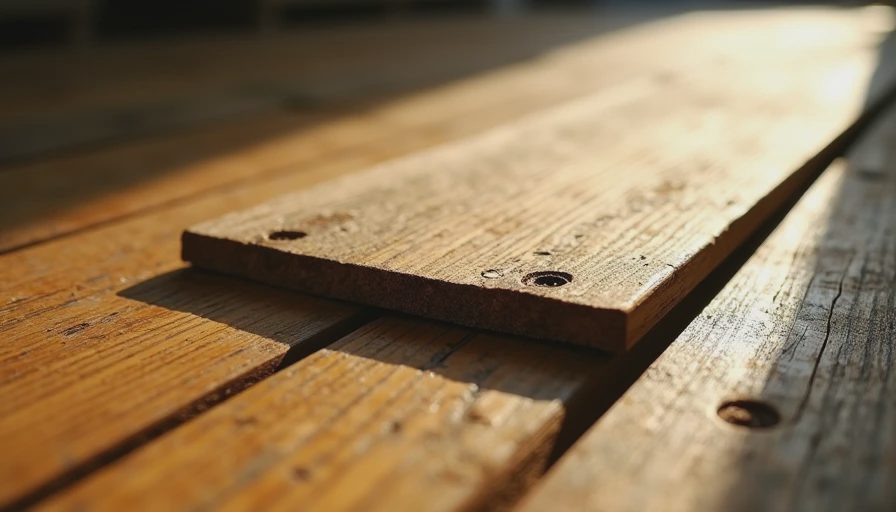
Look for cupping, black staining, nail heads that have started to rise, or a patch that feels spongy compared with the rest of the room. If the board is just noisy, that is a fastening problem. If the wood is swollen, soft, or crumbling at the edges, you are past the cosmetic fix. On a bathroom or kitchen floor, I would rather open the area now than keep laying a pretty rug over a rotten spot and pretend it is solved.
What to check before you buy a single board
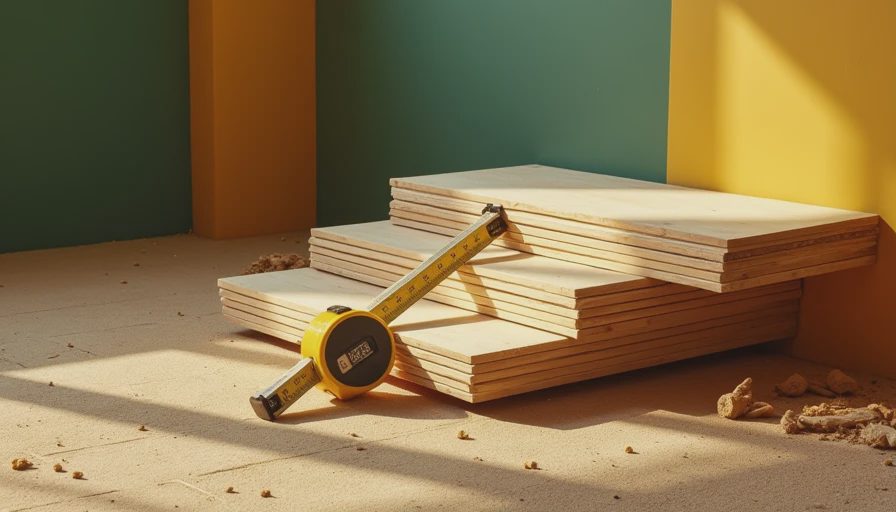
When I am replacing wooden floorboards, I start underneath if I can. A good flashlight, a tape measure, and a moisture meter tell you more than a showroom sample ever will. You want to know the board thickness, the species if you can identify it, and whether the subfloor or the joists are part of the damage. A 3/4-inch oak board is a different animal from old pine strip flooring, and you do not want to force a mismatch just because the color is close.
If the old wood is reasonably sound, matching width matters as much as matching species. Reclaimed pine from a local lumber yard can be worth the money when the room has wide boards and a lived-in look. New clear oak is easier to buy, but it can stand out like a new tooth in an old smile unless you stain and finish it carefully. Dry lumber is non-negotiable; if the meter is showing a wet floor, wait, dry it out, and track down the source before you spend a dollar on the repair.
For a room with old strip flooring, I also check the edges around thresholds, heat vents, and cabinet runs before I order anything. Those spots usually decide whether the repair blends in or sticks out. If the boards are tongue-and-groove, make sure the replacement stock matches the groove depth and face width closely enough that the floor still locks together cleanly.
The repair that holds up over time
When I am replacing wooden floorboards in a room that actually gets used, I try to make the patch disappear structurally first and cosmetically second. That means cutting back to clean edges, making sure the ends land on solid blocking, and fastening the new piece the way the original was fastened. A Bostitch or Powernail flooring nailer is handy on long runs, while a few well-placed screws and construction adhesive make sense on isolated patches where the board will never be seen from below. If the floor is over plumbing or electric, shut the area down before you start swinging tools.
For finished floors, prefinished boards save sanding time, but they are harder to blend into old wood. Site-finished repairs take more effort, yet they let you level the new work with the surrounding boards and match the stain better. A decent orbital sander, a shop vac, and a water-based finish like Bona or a similar pro-grade product will get you a cleaner result than a quick coat of hardware-store polyurethane slapped on with hope and prayer. The goal is not a museum piece. The goal is a floor that feels solid and looks intentional.
If the patch is small, I like to dry-fit everything twice before fastening. Old houses are never as square as the drawings pretend they are. A board that looks perfect on the bench can bind against a crooked wall, and then you are trimming one side, then the other, and burning time for no reason. Patience here is cheaper than force.
Costs, materials, and where to spend the money
A small repair can stay surprisingly reasonable if the damage is isolated. Materials for a patch job might run under $300 if you already own the tools, while a larger room with matching lumber, trim, fasteners, and finish can climb into the low thousands fast. Labor is where the bill grows. A pro does not just swap boards; he fixes the cause, cuts cleanly, levels the patch, and makes the room walk right again. That is why a quote that looks cheap on paper usually gets expensive after the callback.
For a typical room, a homeowner doing the work on a weekend can spend a few hundred dollars on lumber, screws, adhesive, sandpaper, stain, and finish if the joists are good and the damage is limited. Hire it out and the labor can run several hundred dollars to well over a thousand, depending on how much trim has to come off and whether the finish needs to be blended across the whole room. I would rather pay for proper prep than pay twice to fix a shortcut.
Spend money on the wood quality, the moisture check, and the fastening system. Save money by skipping decorative nonsense that nobody will notice under furniture. If the old floor has a little character, do not waste hours trying to make every board look like factory-new stock. In an older home, a repair that matches the room beats a perfect showroom board that screams new.
Mistakes that turn a repair into a rebuild
The worst mistake is patching over rot and calling it done. The second worst is using the wrong thickness and ending up with a hump or a dip that catches the eye every time the light hits it. I also see people install wood before it acclimates, then wonder why gaps open in winter or boards buckle in summer. Another easy way to lose money is sanding too aggressively and erasing the surrounding finish, which turns a one-day patch into a floor refinish.
If the damage came from a leak, fix the leak first, dry the cavity, and then rebuild. If the boards are close to the wall, make sure the trim, baseboard, and expansion space are handled cleanly so the repair does not telegraph through the room. And if you open the floor and find rotten joists, stop guessing and call a carpenter or plumber who knows the difference between a patch and a problem.
The right repair is simple: find the cause, match the material, fasten it correctly, and do not rush the drying time. That is how replacing wooden floorboards stops being a headache and starts being just another solid piece of the house. A floor built right once is a floor you forget about. That's the point.

No notes yet — be the first to inscribe one.