Remodeling tiny bathroom spaces is less about making the room look like a magazine spread and more about fitting plumbing, storage, and a door into an area barely bigger than a walk-in closet. I have worked in bathrooms where the toilet tank nearly touched the tub and the vanity blocked the only heat register. Small rooms punish bad planning, but they reward careful measurements. Get the layout right, control the water, and spend money where it prevents future demolition.
Start With the Layout, Not the Tile
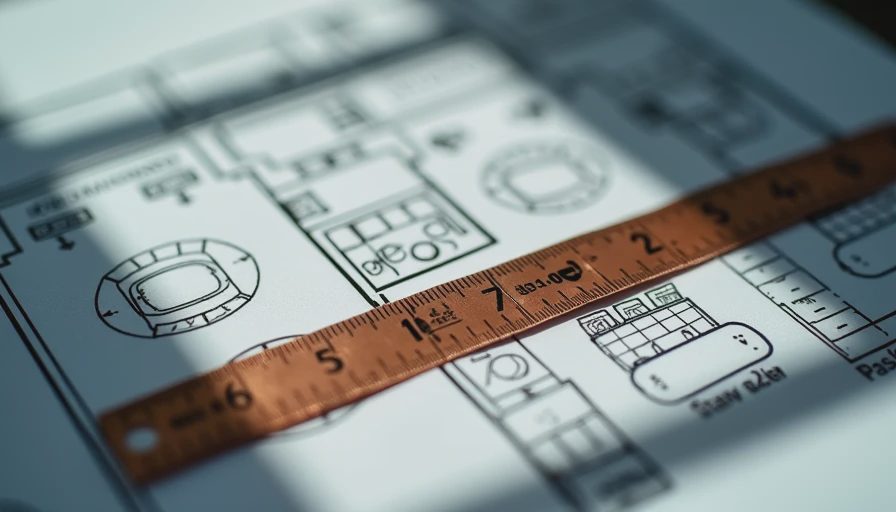
Before remodeling tiny bathroom areas, measure the finished wall-to-wall dimensions, not the rough framing. In an older house, walls are rarely square. Mark the toilet centerline, drain location, door swing, window trim, radiator, and every piece of casing. A drawing on graph paper can save several thousand dollars in plumbing changes.
The biggest improvement is often a smaller fixture, not a fancier one. A compact 24- to 28-inch vanity can give you useful storage without making the room feel blocked. Wall-hung toilets from brands such as Geberit can free floor space, but they require a suitable carrier inside the wall and cost more to install. For a simpler job, look at compact-depth floor-mounted models from Kohler or American Standard. Measure the rough-in first. A toilet designed for a 12-inch rough-in will not automatically fit a 10-inch setup.
Door placement matters just as much. A door that swings into a tiny bathroom can make the toilet or vanity unusable. Reversing the swing is usually inexpensive if the trim allows it. A pocket door saves more room, but the wall must be free of plumbing, wiring, and structural surprises. Do not blindly cut into a wall because Pinterest told you pocket doors are clever.
Spend the Waterproofing Money First
The pretty part of remodeling tiny bathroom projects is the tile. The part that protects your house is behind it. A shower can fail slowly for years before anyone notices, especially around corners, pipe penetrations, and the tub flange. If you are opening the walls, install a real waterproofing system rather than relying on green drywall and optimism.
For sheet membranes, Schluter Kerdi and Wedi are familiar systems with published installation details. For liquid-applied products, RedGard and Hydro Ban are commonly available, but they still require the correct thickness and drying time. A red coat brushed on thin as paint is not waterproofing done properly. Follow the manufacturer’s coverage requirements and use compatible sealants at changes of plane.
Cement board is not waterproof by itself. It resists water better than ordinary drywall, but water can pass through it. The shower needs a surface-applied membrane or a properly detailed moisture barrier behind the board. At the shower valve, use a manufactured seal or carefully detail the opening. That small hole is where many otherwise decent bathrooms begin leaking.
I also want the shower pan slope checked before tile goes down. Water should move toward the drain, not sit in a corner because the framing or mortar bed was rushed. Spend $100 to $300 on better waterproofing materials if necessary. Spending $8,000 later to repair a wet wall, damaged subfloor, and stained ceiling is a lousy bargain.
Choose Fixtures That Give You Room
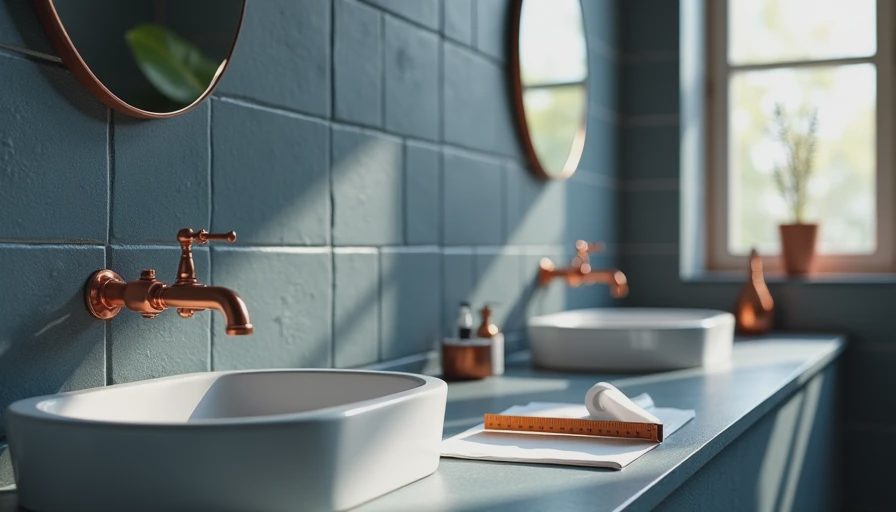
When remodeling tiny bathroom spaces, every inch has a job. A 20-inch vanity may sound too small, but it can work well with a medicine cabinet above it. Recessed cabinets from Robern, Kohler, or less expensive store brands provide storage without adding another obstacle to the room. Check the wall cavity before ordering a recessed model; plumbing vents and electrical cables do not move for free.
A rounded-front vanity can improve the walkway, but I generally prefer a shallow rectangular cabinet because it gives a better counter surface. Look for 18- to 21-inch depth rather than the standard 22-inch depth. If the sink is too large, the faucet may sit near the edge and splash onto the floor. A small undermount or integrated sink is easier to clean than a decorative bowl perched on top.
For lighting, use a damp-rated fixture where required and put the vanity light at face level instead of relying on one ceiling bulb. A 3000K LED light usually gives a comfortable bathroom color without making the room look blue. Add a quiet exhaust fan, such as a Panasonic WhisperCeiling model, sized for the room and vented outdoors. A fan that simply dumps moist air into the attic is not ventilation; it is a mold delivery system.
Tile, Grout, and the False Economy of Cheap Materials
Tile does not have to be expensive to look good. A simple 3-by-6-inch ceramic subway tile can cost roughly $2 to $6 per square foot, while handmade or specialty tile can run $15 or more. In a small bathroom, you are buying fewer boxes, but waste still matters because cuts around niches, valves, and corners use material quickly.
For remodeling tiny bathroom projects, larger tile can reduce grout joints, but it is not automatically easier. An 8-by-24-inch porcelain tile needs a flat substrate and careful layout. An old floor with dips will make large tile rock, leaving ugly lippage. Sometimes a 12-by-24-inch tile looks modern in the showroom and turns into a wrestling match on a crooked 1920s floor.
Use a quality thinset approved for the tile and substrate. Premixed adhesive has places in dry areas, but a shower is not one of them. For grout, a good cementitious grout is affordable and repairable. Epoxy grout resists staining but costs more, works slower, and is unforgiving during cleanup. I would rather see neatly installed standard grout than sloppy epoxy smeared across textured tile.
What Remodeling Tiny Bathroom Really Costs
A basic refresh with paint, a vanity, lighting, and a new toilet can land around $3,000 to $7,000 when the plumbing stays put. A full bathroom renovation with demolition, waterproofing, tile, fixtures, electrical work, and permits commonly reaches $10,000 to $20,000 in many American markets. Older homes, difficult access, asbestos concerns, and rotten framing push that number higher.
Labor is not a line item to erase. Demolition may take one day, but hauling debris, flattening walls, repairing a subfloor, and waiting for waterproofing to cure take real time. A proper small shower can require several working days before the room is ready for fixtures. If a quote is dramatically cheaper than the others, ask what is missing. Often it is waterproofing, disposal, prep, or finish carpentry.
Set aside at least 10 percent for surprises. In an old bathroom, I have found leaking supply lines, undersized wiring, patched-over holes, and floor joists notched by somebody who should have known better. Photograph everything before closing the walls. Keep product boxes, model numbers, and waterproofing receipts in a folder. If a valve cartridge fails later, that information saves a plumber from guessing.
A Practical Order of Operations
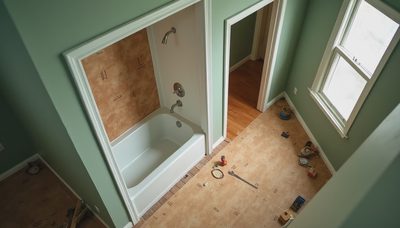
The safest sequence for remodeling tiny bathroom work is demolition, inspection, plumbing and electrical rough-in, framing repair, subfloor preparation, waterproofing, tile, painting, flooring, cabinets, fixtures, and trim. Do not install the vanity before the flooring unless you have a very specific reason. Running tile or resilient flooring underneath makes future replacement easier and gives a cleaner edge.
Have the plumber set the shower valve at the finished wall depth, not where it happens to land with the studs exposed. Confirm the toilet flange will finish at the correct height after flooring. Test supply lines and drains before covering them. Take photos with a tape measure in the frame so future repairs do not require opening the wall blindly.
A homeowner can often handle demolition, painting, cabinet assembly, and finish hardware. I draw the line at moving gas lines, changing structural framing, and complicated plumbing. A licensed professional is worth bringing in when the work affects electrical protection, drainage, or a shared wall. Saving $600 on rough plumbing is not a victory if the ceiling below needs repair.
The bottom line is simple: remodeling tiny bathroom rooms successfully means making fewer, smarter changes. Keep the plumbing where it works, buy a compact fixture that fits the measured space, and put your best money into waterproofing and preparation. Skip the fragile showroom gimmicks. A bathroom built right once is a bathroom you forget about. That's the point.

No notes yet — be the first to inscribe one.