Waterproof sealant is one of those bathroom products that looks simple until you find a soft ceiling below the shower. Homeowners see a $9 tube at the hardware store and reasonably think it can solve every leak. It cannot. The right product, installed on a clean joint with the correct movement, can keep water out for years. The wrong product smeared over damp grout is just expensive white decoration.
I have removed enough failed caulk to fill a pickup bed. Most failures came from three things: the joint was dirty, the wrong chemistry was used, or the installer tried to seal a problem that needed rebuilding. Before buying a tube, figure out whether you are sealing a small transition or hiding structural damage.
Where Waterproof Sealant Belongs in a Bathroom
Use waterproof sealant at changes of plane and around penetrations where materials meet or move. Good examples include the inside corners of a tiled shower, the joint between a tub and wall tile, the gap around a shower door frame, and the escutcheon around a valve or shower arm. These areas flex slightly as framing, tile, and plumbing respond to temperature and moisture.
For most shower joints, I prefer a high-quality 100-percent silicone. Laticrete LATASIL, Custom Building Products Commercial 100% Silicone, and GE Advanced Silicone 2 are familiar options that can handle constant moisture. Match the color to the grout, but do not sacrifice performance for a perfect shade. A $15 tube that lasts five years beats a $5 tube that peels before the next holiday.
Do not use ordinary painter's caulk inside a wet shower. Acrylic latex caulk is easy to tool and paint, but it is not designed for continuous water exposure. It can work along a dry bathroom baseboard or outside a sink backsplash. It is not waterproof sealant for a shower corner.
Silicone, Hybrid, or Polyurethane?
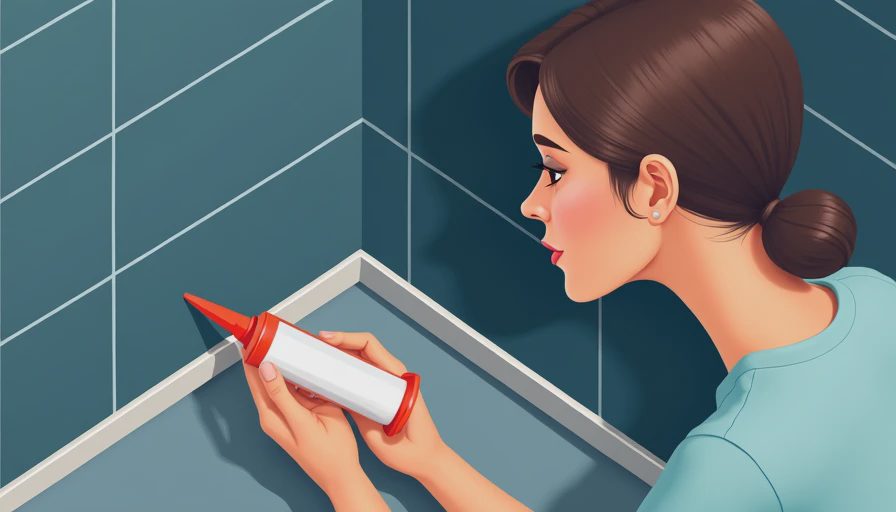
Silicone is the usual choice for tile-to-tile and tile-to-tub joints because it stays flexible and resists water. Its weakness is adhesion to dirty surfaces and certain porous materials. Silicone also cannot be painted, and once cured, it is a miserable surface to repair without removing the old bead.
Hybrid sealants, sometimes labeled silyl-modified polymer, are easier to work with and often accept paint. Products such as Sashco Lexel and select hybrid formulas from Loctite can be useful around trim, exterior transitions, and areas where paintability matters. Read the label carefully; “water resistant” is not the same as being rated for a constantly wet shower.
Polyurethane products are tough and bond aggressively, which is helpful for some exterior construction joints. In a bathroom, they can be harder to tool cleanly and may stain porous stone. I rarely reach for polyurethane as waterproof sealant around finished shower tile unless the manufacturer specifically approves that application.
Surface Preparation Makes the Difference
The best waterproof sealant fails when applied over soap film, dust, mildew, or old caulk. Remove the entire existing bead with a sharp utility knife and a plastic scraper. Avoid digging into acrylic tubs or scratching glazed tile. A caulk-removal tool can help, but no tool replaces patience at the corners.
Clean the joint with isopropyl alcohol on a rag, then let it dry completely. Do not flood the area with bleach and immediately caulk over it. Moisture trapped behind the bead can prevent adhesion and give mildew a head start. If the joint is deep, push in a compatible backer rod rather than filling a half-inch void with sealant. The bead should usually be about as wide as it is deep, not a thick rope covering both surfaces.
Cut the nozzle at a small angle, starting with an opening smaller than you think you need. Apply steady pressure and move continuously. Then tool the bead with a damp finger or a proper caulk tool. Keep a rag and a trash bag nearby; dragging excess material across grout is how a ten-minute repair becomes an hour of cleanup.
The Tub and Shower Details People Miss
A tub can move when someone stands in it. If you seal the tub-to-tile joint while the tub is empty, the bead may stretch or pull away when the basin is loaded. For a flexible joint, fill the tub with water before applying sealant, allow the bead to cure, and drain it afterward. Follow the product label if it gives different instructions, especially with acrylic tubs.
At a shower door, seal the exterior edges according to the door manufacturer's instructions. Do not casually seal every interior channel. Some framed doors are designed to drain through weep holes, and blocking those holes sends water where it does not belong. A waterproof sealant bead is not an excuse to ignore the drainage design.
Around plumbing trim, the escutcheon may need a small bead at the top and sides while leaving the bottom open. That gap lets a hidden leak show itself instead of trapping water behind the plate. If water is coming from behind the valve body or shower arm, caulk is not a repair. Shut off the water and call a plumber if you cannot identify the fitting.
When Caulk Cannot Fix the Leak
A sealant bead protects a joint; it does not waterproof a failed shower assembly. If grout is crumbling across broad areas, the backer board is soft, the wall smells musty, or water appears in the room below, stop treating symptoms. The shower may lack a proper waterproof membrane, have a failed drain connection, or contain saturated framing.
I once opened a row-house shower where the owner had applied three layers of clear sealant around the corners. From the bathroom, it looked tidy. Behind the tile, the cement board was dark and the bottom plate had started to rot. The repair required demolition, new waterproofing, and a replacement section of framing. That was several thousand dollars, not a $12 tube. The tube was never the problem.
For a small isolated joint, waterproof sealant is sensible. For recurring leaks, it is a delay that can make demolition more expensive. Use a moisture meter if you have one, inspect the room below, and look for changes after the shower runs for ten minutes.
A Practical Buying and Application Checklist
Buy 100-percent silicone rated for kitchen and bath when sealing a wet tile joint. Check the expiration date and choose a color close to the existing grout. Have a utility knife, plastic scraper, alcohol, painter's tape, gloves, and a caulk tool ready before opening the tube.
Remove old material completely, clean both bonding surfaces, and let them dry. Tape the edges if you are still learning; pull the tape while the bead is wet. Apply one continuous bead instead of building it in short sections. Tool it once, wipe the excess, and leave the area alone for the full cure time. Many products skin over quickly but need 24 hours or longer before regular water exposure.
Inspect the joint twice a year. Look for shrinking, pinholes, discoloration, or separation at one edge. Replacing a failing bead early is cheap insurance. Do not apply new waterproof sealant over the old bead because the new layer usually bonds poorly and hides the failure underneath.
The Bottom Line
Waterproof sealant is excellent at closing movement joints, protecting tub transitions, and finishing plumbing trim. It is not a substitute for a shower membrane, sound framing, or a properly installed drain. Spend $12 to $20 on a good silicone, spend more time cleaning than squeezing, and know when the leak is bigger than the bead. A bathroom built right once is a bathroom you forget about. That's the point.
No notes yet — be the first to inscribe one.