A shower valve is the part behind the wall that controls water temperature and volume. You do not see it after the tile goes up, but you will think about it every morning if it drips, scalds someone, or needs a replacement that no longer exists. I have opened plenty of finished showers to fix cheap valves, and the repair is never cheap. If your house was built before 1980, choosing the right shower valve before demolition matters more than choosing between brushed nickel and matte black.
What a shower valve actually does
The valve mixes hot and cold water and sends the result to the showerhead, handheld, or tub spout. A pressure-balance valve reacts when pressure changes, such as when somebody flushes a toilet or starts the washing machine. It keeps the temperature from jumping suddenly. That is the standard choice in most American bathrooms and a sensible choice for a normal family shower.
A thermostatic valve measures temperature more precisely. You set the temperature on one control and use another control for flow. That feels more luxurious, but it costs more and needs more room behind the wall. A quality thermostatic shower valve from Kohler, Grohe, or Hansgrohe can run roughly $300 to $700 before trim. A pressure-balance valve from Moen, Delta, or American Standard is often $80 to $250 for the valve and trim combination, depending on the finish and configuration.
Do not confuse a shower valve with the visible trim kit. The trim is the handle, escutcheon, and decorative plate. The valve body is the buried plumbing component. They are not universally interchangeable, even when the brand name looks familiar.
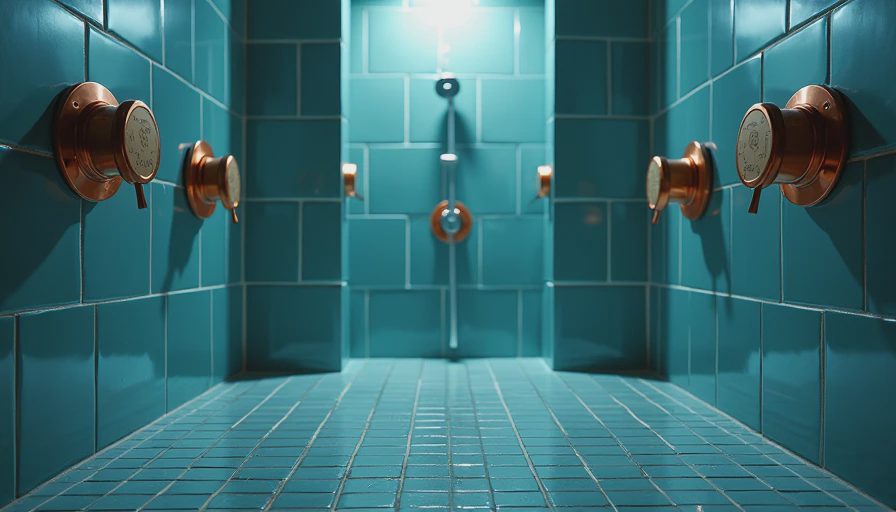
Pressure-balance versus thermostatic
For most homeowners, a pressure-balance shower valve is the practical answer. It meets the basic anti-scald function required by modern plumbing standards, handles ordinary pressure changes, and has replacement cartridges that are relatively easy to find. Delta Monitor and Moen Posi-Temp are common examples. I have installed hundreds of both. Neither is magic, but both are easier to service than obscure imported hardware.
A thermostatic shower valve makes sense when you want multiple outlets, a rainhead plus handheld, or separate control of temperature and volume. It also works well for a household where one person likes a hot shower and another wants a cooler setting. The catch is planning. You might need a diverter valve, additional blocking, larger supply lines, or a bigger access panel. That can add $300 to $1,000 in labor and materials before the tile is even installed.
If someone is selling you a $1,200 valve because the product page uses words like spa experience and architectural, slow down. A higher price can buy better machining and smoother controls, but it does not waterproof the wall or improve a badly soldered connection.
Brand and cartridge choices that hold up
My default recommendation for a standard remodel is to buy a serviceable shower valve from a major manufacturer and purchase the trim later. Delta R10000 rough-in valves are popular because several Delta trim styles can fit the same body. That helps when a finish is discontinued. Moen also has broad trim compatibility within its valve families, but do not assume every Moen handle fits every Moen body.
Kohler valves are solid, though their trim and cartridges can be less convenient to source in some local stores. Grohe and Hansgrohe make excellent equipment, particularly for thermostatic setups, but replacement parts can cost more and sometimes require ordering. I would rather install a $160 valve with a cartridge available at a nearby supply house than a beautiful $400 valve that leaves the homeowner waiting three weeks for a seal.
Before buying, photograph the product box and record the exact model number. Keep the spare cartridge, installation instructions, and any colored plastic test cap in a labeled bag. Six years from now, that five-minute bit of organization can save a wall opening.
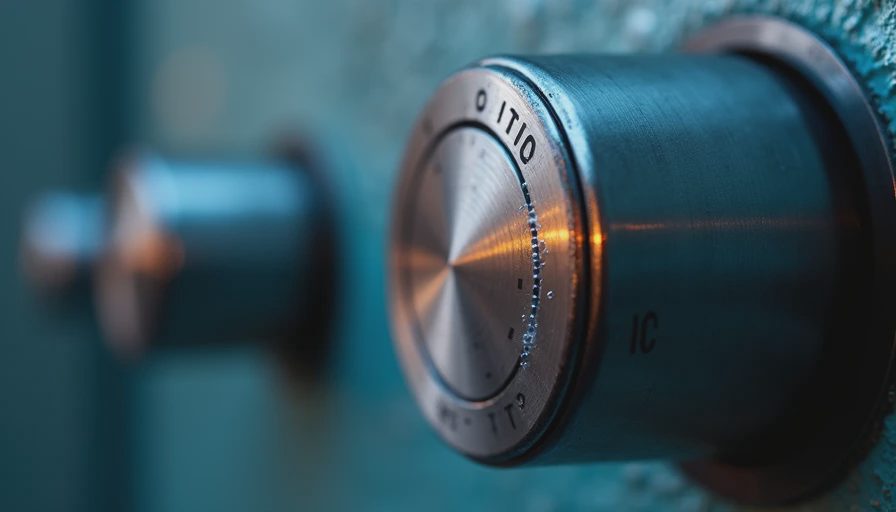
Installation details that prevent expensive problems
The valve must be installed at the correct depth. The manufacturer usually marks a finished-wall range on the guard or body. That measurement includes backer board, waterproofing, thinset, and tile, not just the studs. I have seen a valve set nearly an inch too deep because someone measured from the framing and forgot the tile assembly. The handle then barely engaged the cartridge.
Use solid blocking so the shower valve does not move when the handle is pulled. Connect it with the material specified for the system: copper, PEX, or approved threaded fittings. Do not bury a collection of adapters behind a finished wall simply because they were in the truck. Keep threaded joints accessible during testing, and pressure-test the plumbing before backer board covers it.
The tub spout deserves special attention. Many tub-and-shower valves require a full-size copper or brass line to the spout. PEX can restrict flow or create a slow-diverter problem on some setups. Follow the valve instructions instead of copying a shortcut from a random video.
Retrofitting an older bathroom
A 1920s or 1950s bathroom often has galvanized pipe, odd spacing, or a valve body that was never designed for modern trim. In that situation, demolition is the time to replace questionable supply piping and add proper blocking. Do not build a new tile surround around a corroded valve because the old one still technically works.
A straightforward replacement behind an open wall may take a plumber two to four hours, with labor commonly landing around $300 to $900 depending on access and regional rates. Moving the valve, adding a handheld, or repairing old pipe can push the plumbing portion past $1,200. Those numbers are a lot easier to swallow before waterproofing than after a leak stains the ceiling below.
For a small bathroom with limited access, choose a shower valve with a removable cartridge and available service stops if the manufacturer offers them. Service stops let a technician shut off the valve locally instead of turning off water to the entire house. They are not mandatory, but they are a very good idea during a renovation.
A buying checklist before the tile goes up
Start by deciding whether the shower has one outlet or several. One fixed showerhead usually needs a basic pressure-balance valve. A head, handheld, and body sprays may need a diverter or multiple valves. Next, confirm whether the system controls volume separately from temperature. If you want both, do not order a trim kit that only has one handle.
Check the rough-in dimensions, connection size, required orientation, and compatible trim family. Ask who will service the valve five years from now. Search the model number on the manufacturer site and confirm that cartridges and seals are still listed. Then have the installer perform a pressure test, run hot and cold water, check the tub-spout diverter, and photograph the open wall before insulation covers everything.
One more practical point: buy the valve before the plumber arrives. A missing part can leave a crew waiting, and substitutions made under pressure are how mismatched trim and buried fittings happen. Spend the extra hour on planning rather than paying for a second service call.
The bottom line is simple: buy a reputable shower valve with a replaceable cartridge, install it at the finished-wall depth, brace it properly, and test every connection before tile. A bathroom built right once is a bathroom you forget about. That's the point.



No notes yet — be the first to inscribe one.