If you want to know how to waterproof a shower, start by forgetting the idea that tile and grout keep water out. They do not. Tile is a wear surface, and grout is not a waterproof barrier. Water gets through joints, corners, screw holes, and small cracks. The waterproofing underneath is what protects the framing, subfloor, insulation, and rooms below.
I have opened plenty of failed showers where the tile looked acceptable from the bathroom side. Behind it, the studs were dark, the sill plate was soft, and the bottom of the drywall had turned to mush. The repair cost was often several thousand dollars more than doing the waterproofing correctly in the first place. A proper shower system is not the glamorous part of a remodel, but it is the part that determines whether the bathroom survives.
Choose the waterproofing system before buying tile
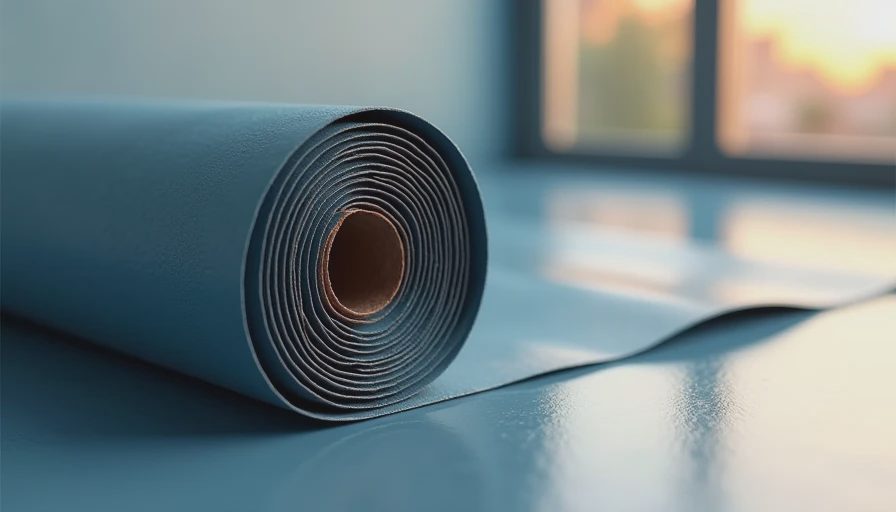
There are three common approaches. A traditional mortar-bed shower uses a PVC or CPE liner over a sloped floor, with a clamping drain and a mortar setting bed above it. This method works, but the details matter. The liner must rise high enough on the walls, fold neatly at corners, and never be punctured below the top of the curb. The floor beneath the liner must slope toward the drain so water does not sit underneath the mortar.
A surface-applied sheet membrane, such as Schluter Kerdi or NobleSeal, goes directly behind or over the tile-setting surface. A liquid membrane, such as Laticrete Hydro Ban or Custom Building Products RedGard, is brushed or rolled onto the backer board. Both can work. Neither is magic. Sheet membranes depend on properly sealed overlaps, while liquid membranes depend on the specified thickness. A thin red coat that looks covered is not automatically waterproof.
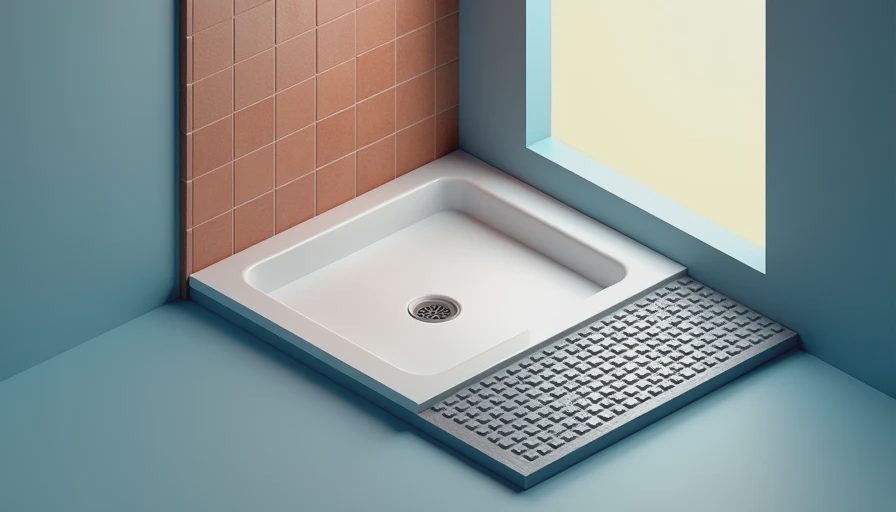
For many homeowners, a complete matched system is easier to control. That might mean a foam shower pan, compatible drain, waterproof wall boards, inside corners, and sealant from one manufacturer. Wedi and Schluter are common examples. The price can be higher, sometimes $800 to $1,500 for materials, but the parts fit together and the instructions are clearer. Mixing random components to save $100 is how small gaps become expensive service calls.
Prepare the framing and shower floor properly
Learning how to waterproof a shower starts before the membrane comes out of the box. Remove the old walls and inspect every stud, joist, and section of subfloor. Replace swollen plywood, mold-damaged material, and framing that has lost its shape. Do not cover a problem because the backer board will hide it. A waterproof shower cannot rescue rotten structure.
The walls need to be flat enough that the backer board does not flex. Plane or shim studs as needed, then install blocking wherever the system requires support: at board edges, around niches, behind the valve, and along the future curb. A shower valve that is not firmly supported can move when someone turns the handle, eventually stressing the seal around the opening.
Pay attention to the floor. A shower pan needs a consistent slope, commonly about one-quarter inch per foot, toward the drain. A long shower with the drain at one end needs careful planning because the far end may require more buildup. Set the drain height before placing the mortar or foam pan. If the drain is too high, the entry becomes awkward; if it is too low, the slope disappears.
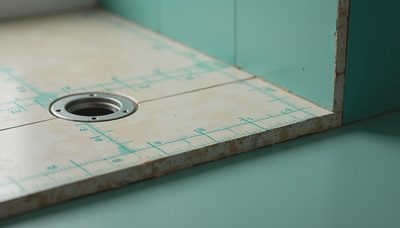
Cement board is not waterproof by itself. It is water-resistant and provides a stable tile surface, but water can pass through it. Treat all seams, fasteners, corners, niches, and plumbing openings according to the selected system. The weakest detail controls the whole installation.
Seal every penetration and change of plane
The flat wall is usually not where showers fail. Corners, benches, niches, curbs, and pipe openings are the trouble spots. When figuring out how to waterproof a shower, spend more time on those details than on the open field of the wall.
At inside corners, use the manufacturer’s preformed corners or the specified banding material. Do not stretch membrane around a sharp turn until it becomes paper-thin. Around the mixing valve, use a compatible seal or carefully follow the valve manufacturer’s waterproofing detail. The trim plate is not a waterproofing system; it is a finished cover.
A niche deserves special attention because it creates several inside corners and often collects water on its bottom ledge. Slope that ledge slightly toward the shower, waterproof every corner, and avoid leaving a flat horizontal shelf. Benches need the same treatment. If water can sit there, it eventually finds a seam.
Keep fasteners out of prohibited areas. With a traditional liner, screws through the curb or low wall are serious mistakes. With a surface membrane, use only approved fasteners and patches. A $12 tube of the correct sealant is cheaper than removing a finished wall because someone used ordinary silicone or construction adhesive in the wrong place.
Test the pan before installing tile
A flood test is the step that separates a shower installation from a hopeful guess. Plug the drain with a proper test plug, fill the pan with water to a safe level, and mark the waterline. Leave it for the period required by local practice or the membrane manufacturer, commonly around 24 hours. Check the level afterward and inspect the ceiling below, nearby walls, and plumbing access area.
Do not rely on a rubber stopper pushed into the drain opening if the test plug needs to sit below the drain assembly. The point is to test the waterproof pan and drain connection, not just the visible surface. If the level drops, find the leak before tile covers it. A small leak is a cheap repair when the walls are open and a miserable repair after grout, trim, and paint are complete.
A flood test does not replace checking the shower valve and supply connections. Pressurize the plumbing, inspect around the valve body, and run the lines before closing the wall. I have seen a perfectly waterproof pan blamed for a leak that actually came from a threaded fitting behind the control valve.
Tile, grout, and maintenance still matter
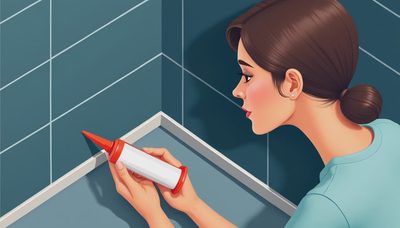
Once the pan passes its test, install tile with the correct mortar and maintain the planned movement joints. Changes of plane, such as wall-to-floor and wall-to-wall corners, generally need flexible sealant rather than rigid grout. Grout can crack when two surfaces move independently. Use a quality color-matched sealant and replace it when it separates or develops gaps.
Choose grout based on the joint size and cleaning expectations. Cement grout is affordable and familiar, while high-performance cement or epoxy grout can offer better stain resistance. None of them replaces waterproofing. Sealing cement grout can reduce staining, but it does not turn a tiled wall into a tub liner.
After the shower is finished, keep the enclosure reasonably dry between uses. Run the exhaust fan during the shower and for a while afterward, wipe standing water from shelves, and repair failed caulk promptly. These habits do not compensate for bad construction, but they reduce the stress on a good system.
What the job should cost and when to call a pro
For a standard 3-by-5-foot shower, DIY waterproofing materials might run $500 to $1,500 before tile, tools, glass, and plumbing. A contractor-installed waterproofing and tile package commonly reaches several thousand dollars, especially when demolition, drain relocation, framing repair, and custom glass are involved. The material price is only one line on the estimate; labor and access usually control the final number.
Call a plumber when the drain must move, the valve needs replacement, supply lines are questionable, or the subfloor is badly damaged. Call a tile professional when the shower has multiple niches, a curbless entry, an off-center drain, or framing that cannot be made flat without major work. There is no prize for saving money on the part that prevents a leak.
When people ask me how to waterproof a shower, my answer is simple: use one compatible system, follow its details, seal every penetration, and flood-test before tile. A bathroom built right once is a bathroom you forget about. That is the point.
No notes yet — be the first to inscribe one.