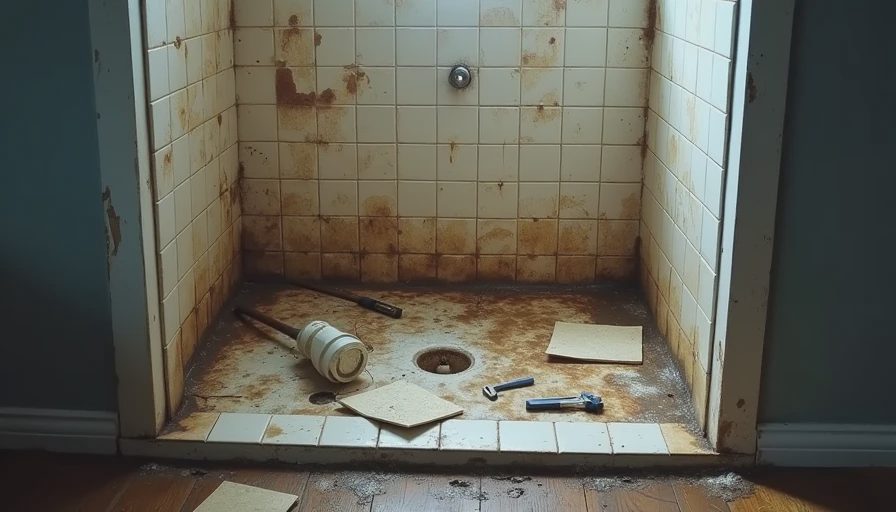
The Most Expensive Leak in the House
Nothing ruins a bathroom renovation faster than discovering water in the basement or ceiling below six months after completion. The culprit is almost always the shower pan.
I’ve fixed more failed shower pans than I care to count. Most of them failed for the same handful of preventable reasons.
A bathroom built right once is a bathroom you forget about. That’s the point. Your shower pan should be boringly reliable for decades.
The Most Common Failure Points
1. No Pre-Slope (or Bad Pre-Slope)
Water needs to flow to the drain. If the pan is flat or has negative slope, water sits and eventually finds a way through.
This is the #1 cause of pan failures I see.
2. Poor Waterproofing Membrane Installation
Missed seams, insufficient overlap, punctures from tile work, or wrong thinset — any of these can doom your pan.
3. Wrong Drain Assembly
Using the wrong type of drain or not sealing it properly to the membrane is a classic rookie (and sometimes experienced contractor) mistake.
4. Movement in the Structure
Old houses settle. If the subfloor isn’t solid, the pan can crack over time.
5. Cheap Materials
Saving $80 on a liner or membrane almost always costs thousands later.
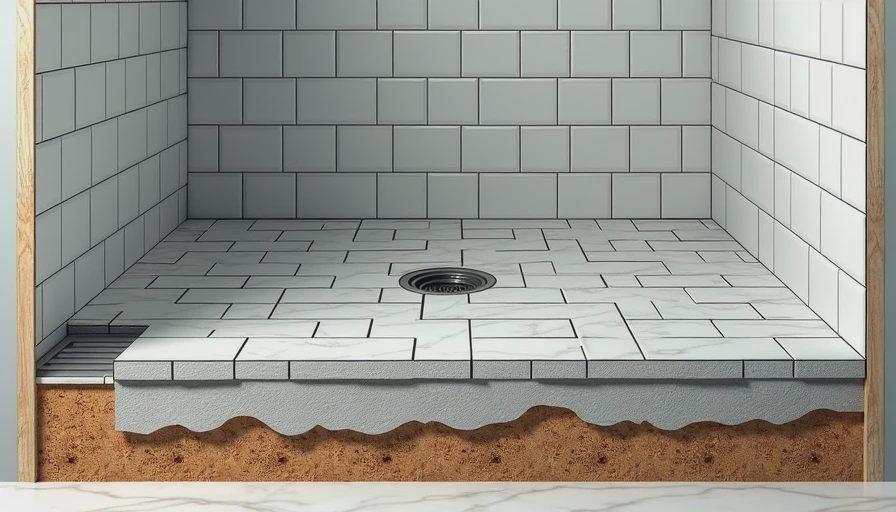
How to Build a Shower Pan That Lasts
Step-by-Step (The Right Way)
Solid Subfloor Repair or replace any soft spots. Add blocking between joists if needed.
Pre-Slope Create a proper mortar pre-slope (1/4" per foot) toward the drain. This is non-negotiable.
Waterproof Membrane I prefer Schluter Kerdi or Wedi systems. Install per manufacturer instructions with proper overlaps and seals.
Second Slope (Mud Bed) Another mortar layer on top of the membrane for final slope.
Quality Drain Use a good two-piece or integrated drain that works with your membrane system.
Test It Fill the pan with water and let it sit for 24 hours before tiling. Fix any leaks now.
My Preferred Modern Method
For most jobs these days I use a Kerdi shower pan system or Wedi foam system. They’re faster, more reliable, and less prone to installation error than traditional mud beds when done correctly.
Both have excellent track records when installed properly.
What to Do If Your Current Pan Is Leaking
Don’t just re-tile over it. You need to find the source of the leak and fix the waterproofing. Patching usually doesn’t work long-term.
Be prepared for a bigger project than you want. But doing it right now saves money and headaches later.
Prevention Is Cheaper Than Cure
A properly built shower pan adds maybe $300–$600 to the project cost compared to cutting corners. Fixing a failed one can easily run $4,000–$8,000+ depending on the damage.
Always invest in the pan. It’s hidden work that protects everything else.
Got a leaking shower right now? Describe the symptoms in the comments and I’ll help you diagnose what’s likely happening.
No notes yet — be the first to inscribe one.