The $2,400 Mistake You Can’t See in the Finished Photos
It was supposed to be a straightforward master bathroom job in a Manayunk row house. Nice homeowners. Good plans. I thought I had everything under control.
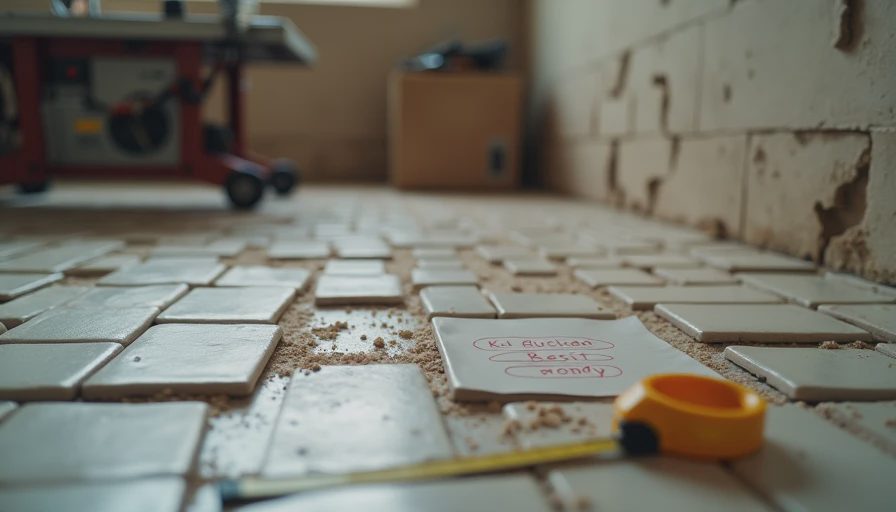
Then I spent three extra days on my knees because of one dumb error on the cut list. Three days. That’s a lot of thinset and even more swearing.
A bathroom built right once is a bathroom you forget about. That’s the point. But first you have to survive the tiling phase without creating new problems for yourself.
Let me tell you the whole painful story so you don’t make the same mistake.
What a Cut List Actually Is
A proper tile cut list tells you exactly how many full tiles, half tiles, and special cuts you need for each wall and floor. It accounts for layout, pattern, waste, and the inevitable imperfections in old houses.
I’ve done hundreds of these. But on this particular job, I got cocky and rushed it.

The Mistake That Cost Three Days
I laid out the main floor thinking the walls were relatively square. They weren’t. The room had a 1.5-inch difference from one corner to the other. I didn’t catch it early enough.
My cut list assumed a perfect starting point. By the time I reached the far wall, the cuts went from nice 6-inch pieces to weird 1.25-inch slivers that looked terrible. Then I had to rip everything out and start over with a corrected layout.
Three days. Two extra trips to the tile store. A very understanding but clearly disappointed homeowner.
The System I Use Now (And You Should Too)
Step 1: Measure Like Your Reputation Depends On It
Measure every wall at top, middle, and bottom.
Check for square using the 3-4-5 method in multiple places.
Note any bows or dips with a long straight edge.
Step 2: Decide Your Starting Point
In old houses, the center of the room is often better than starting from one wall. This helps balance out the cuts on both ends.
Step 3: Create a Proper Cut List
I now use a simple spreadsheet with these columns:
Wall/Floor section
Total length/width
Tile size
Layout starting point
Full tiles needed
Cut sizes and quantities
Waste factor (I add 12-15% now instead of 8%)
Step 4: Dry Lay a Section
Always do a physical dry run of at least one full row before committing. Your eyes will catch what the math sometimes misses.
Tools That Actually Help
Quality laser measure (saves so much time)
Large L-square and straight edges
Calculator or spreadsheet on your phone
Chalk line and pencils (old school still works)
Tile gauge or story pole for consistent heights
Other Common Cut List Disasters I’ve Seen
Forgetting to account for the thickness of the waterproofing layer
Not ordering enough bullnose or edge pieces
Ignoring pattern repeat on decorative tiles
Bad math on diagonal layouts (these are brutal)
Forgetting that outlets and switches eat into your layout
Lessons That Stuck With Me
Never rush the layout phase. This is where the job is won or lost.
Over-order tile. Better to return a few boxes than to stop mid-job waiting for a special order.
Document your layout. Take photos of the dry lay. Future you will thank you.
Communicate with the homeowner. Show them the cut plan before you start. They need to understand why some cuts are small.
The Finished Bathroom Looked Great… Eventually
After redoing the layout properly, the bathroom turned out beautiful. The homeowners love it. But I still think about those three lost days every time I start a new tile job.
The best part? That painful lesson became part of my standard process. Every job since has gone smoother because of it.
Your Turn
If you’re planning a tile project, take the time to do it right. Print out my checklist. Measure twice (or three times). Make the cut list boringly detailed.
Your knees and your wallet will thank you.
Got a tiling horror story or a specific layout question? Drop it in the comments. I’ve probably seen it — or done it myself.


No notes yet — be the first to inscribe one.